Getting started with IBM Iot Platform
I am planning to add some PM2.5 & PM10 sensors to my network for sensors which are at this point plain weather stations. With this I also wanted to explore a more scalable way of hosting data. Something that I can do easily and that I can suggest other readers. Some of my early version push json data to CouchDB but it’s not really meant for IoT kind of devices. One of the biggest need is the ability to set some triggers which can send me alerts. Before I built a PM2.5 sensor, I thought I would set up the whole system with existing temperature sensor as a test setup. So I started with a my trustworthy Raspberry Pi Zero. Its small and has enough power and pins to accommodate things once launch full-fledged.
Setup Pi Zero
- Install Raspbian OS. Lite version is enough. We don’t need desktop. I use Etcher to burn the OS to MicroSD card.
- Login to your pizero and install build essentials, python-dev and pip. See the steps below
- Download and install Adafruit DHT library
#update and install build essentials, on pi-zero
sudo apt-get update
sudo apt-get install build-essential python-dev
sudo apt-get install python-pip
#get and install library, on pi-zero
wget https://github.com/adafruit/Adafruit_Python_DHT/archive/master.zip
unzip master.zip
cd Adafruit_Python_DHT-master
sudo python setup.py install
Setup the temperature sensor circuit
We will use a DHT22 (AM2302) sensor. Since it’s the most commonly used sensor. It’s a very simple circuit. DHT22 has only one data pin. We will use GPIO23 which is pin 16
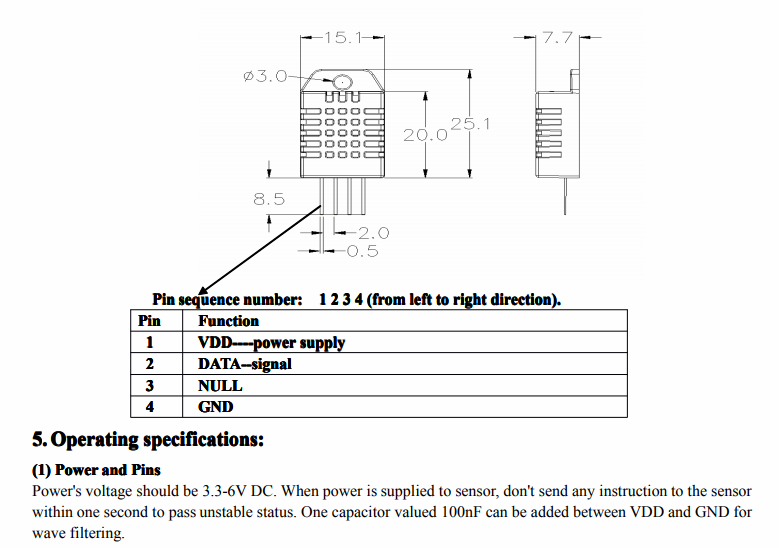
AM2302 / DHT22
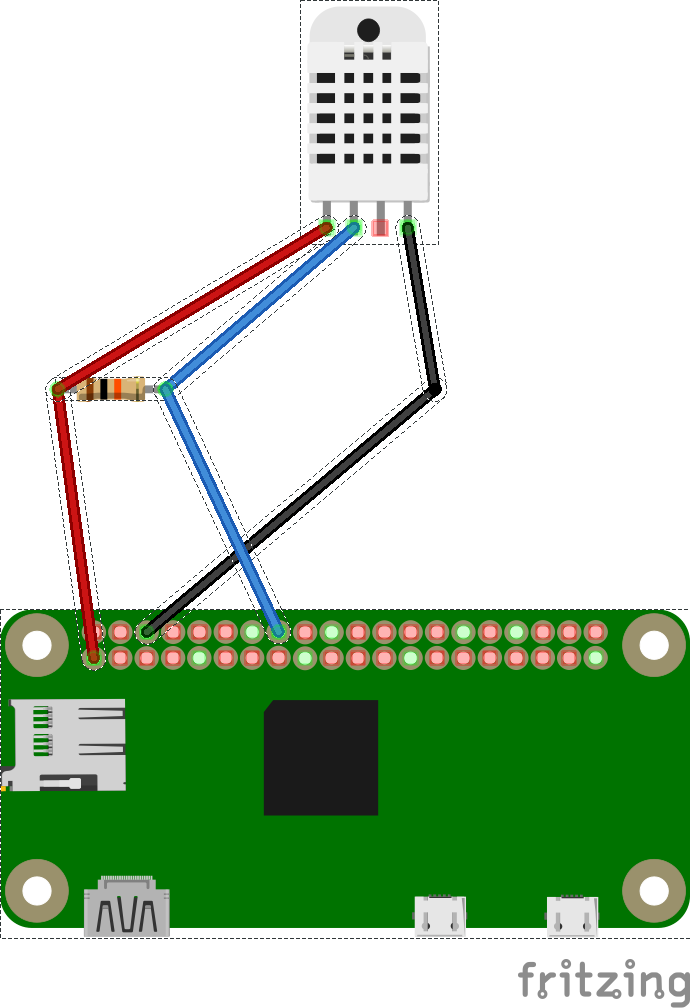
It's a simple circuit
import time
import Adafruit_DHT

sensor = Adafruit_DHT.DHT22
pin = 23 #gpio 23 , https://pinout.xyz/pinout/pin16_gpio23

while True:
	humidity, temperature = Adafruit_DHT.read_retry(sensor, pin)
	if temperature is not None:
	    print(temperature)
	    time.sleep(5) #try after 5 seconds
	else:
	    print('Failed to get reading. Try again!')
	    time.sleep(1) #try after a second
IBM IoT
IoT platform from IBM allows you to connect and upload the data directly from your device. It gives you web console to view and visualize your data. It also has messaging and REST apis for external app support. We are going to use a lite version which is free for up to 500 registered devices and a maximum of 200 MB of each data metric. Which is more than enough for our experiment to explore the service.
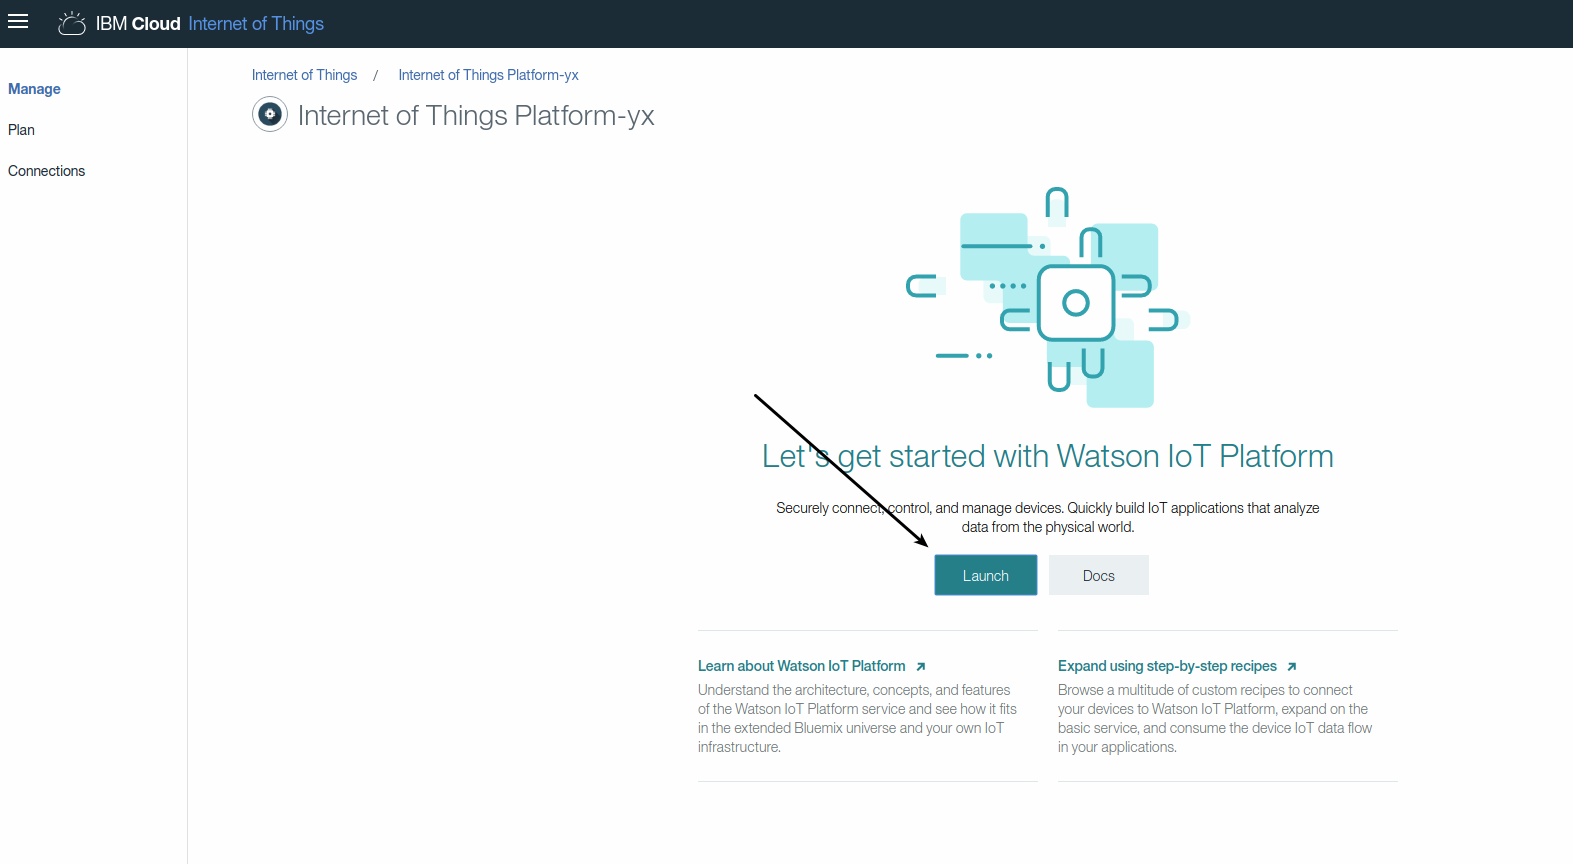
Create an IOT Project
Go to IBM IoT and create an account or login with your existing account.

Add Device Types
Create a device so you can control them or group them logically later.
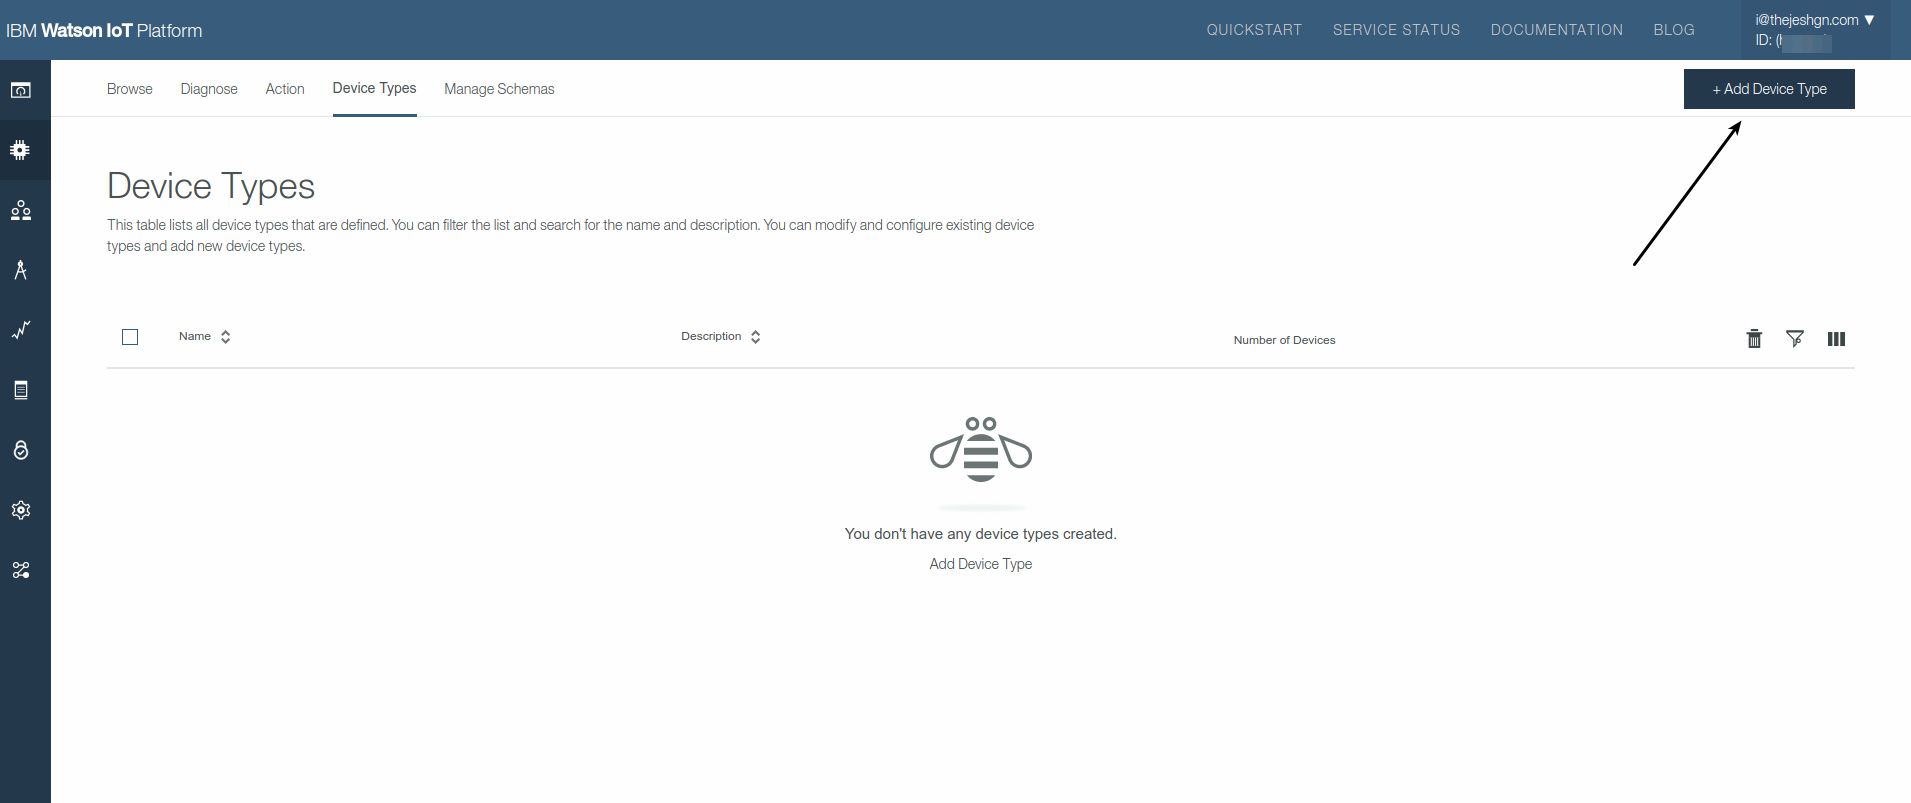
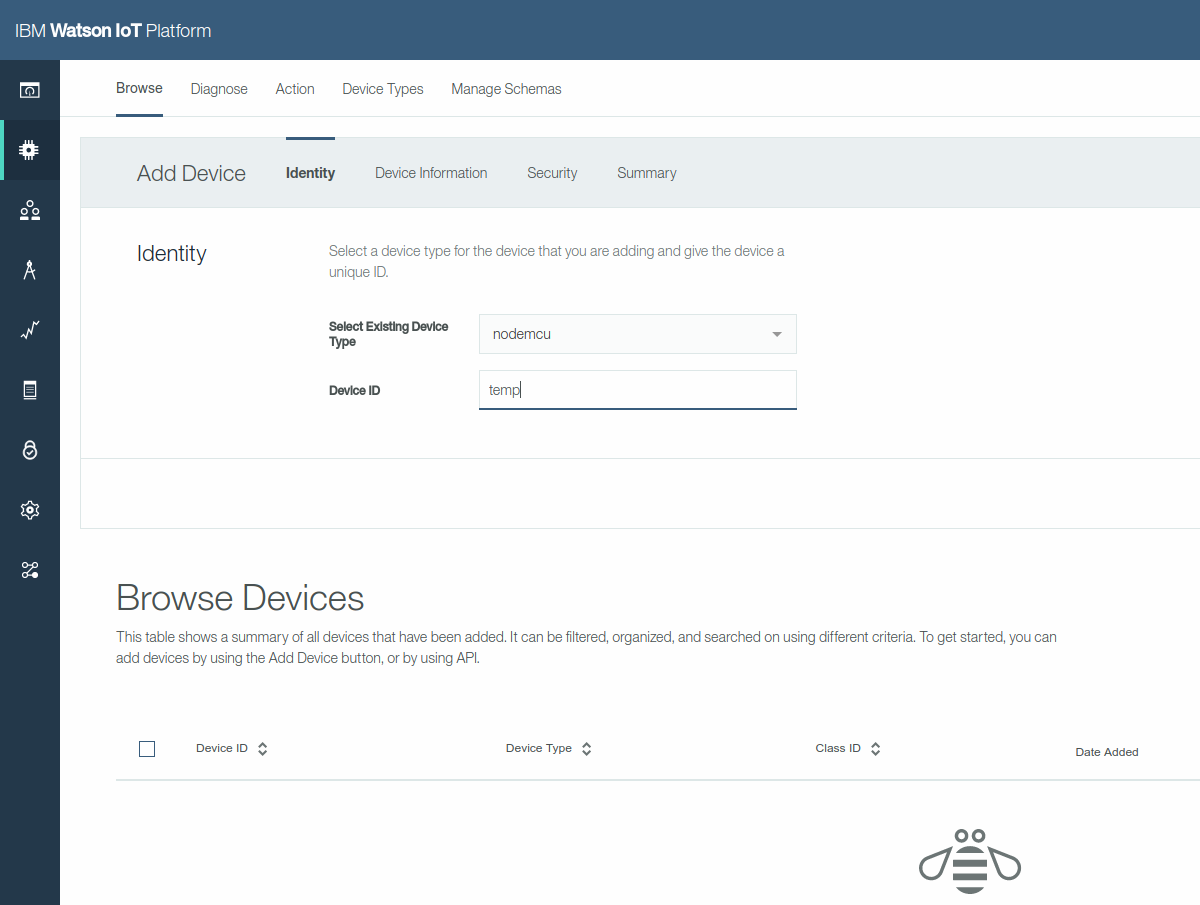
Add Device
Now here comes the most important part. Add a device by selecting a group and giving it a name.
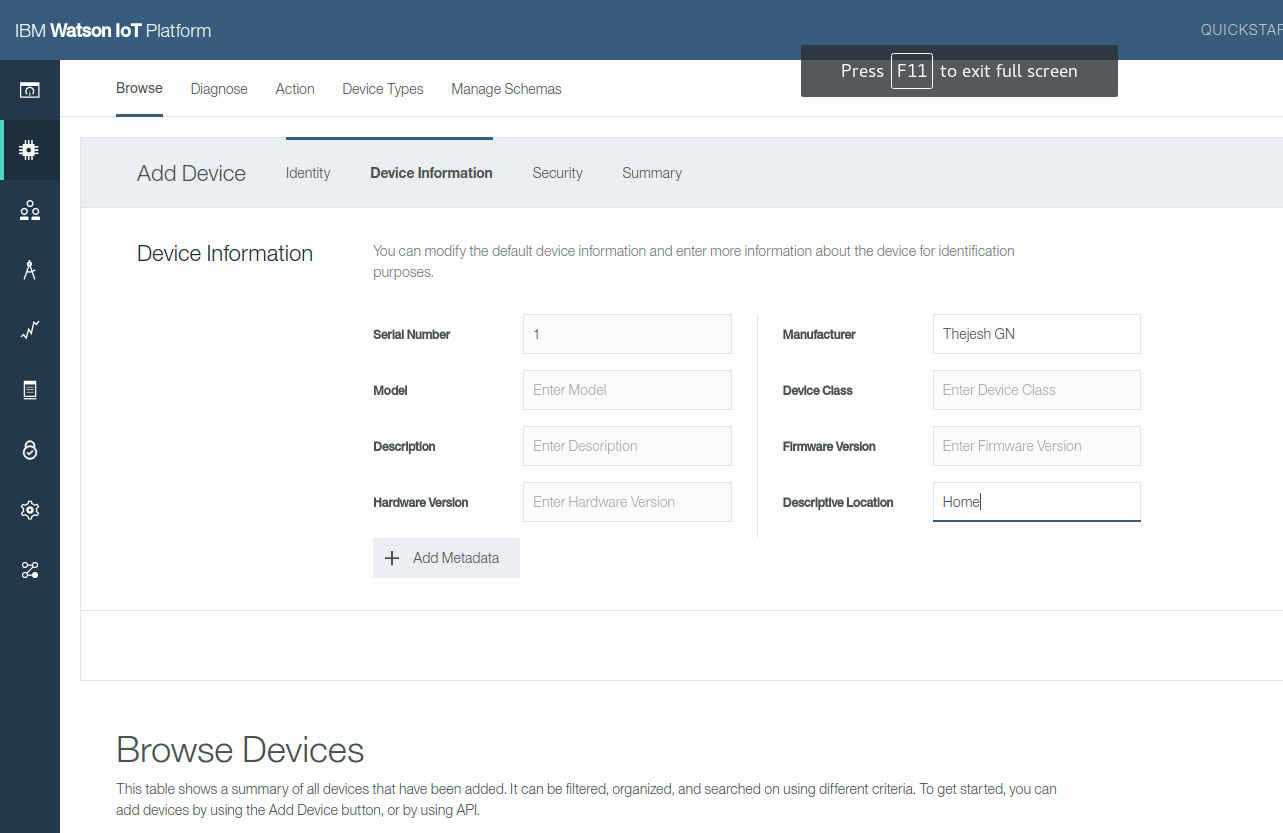
Add Device Information
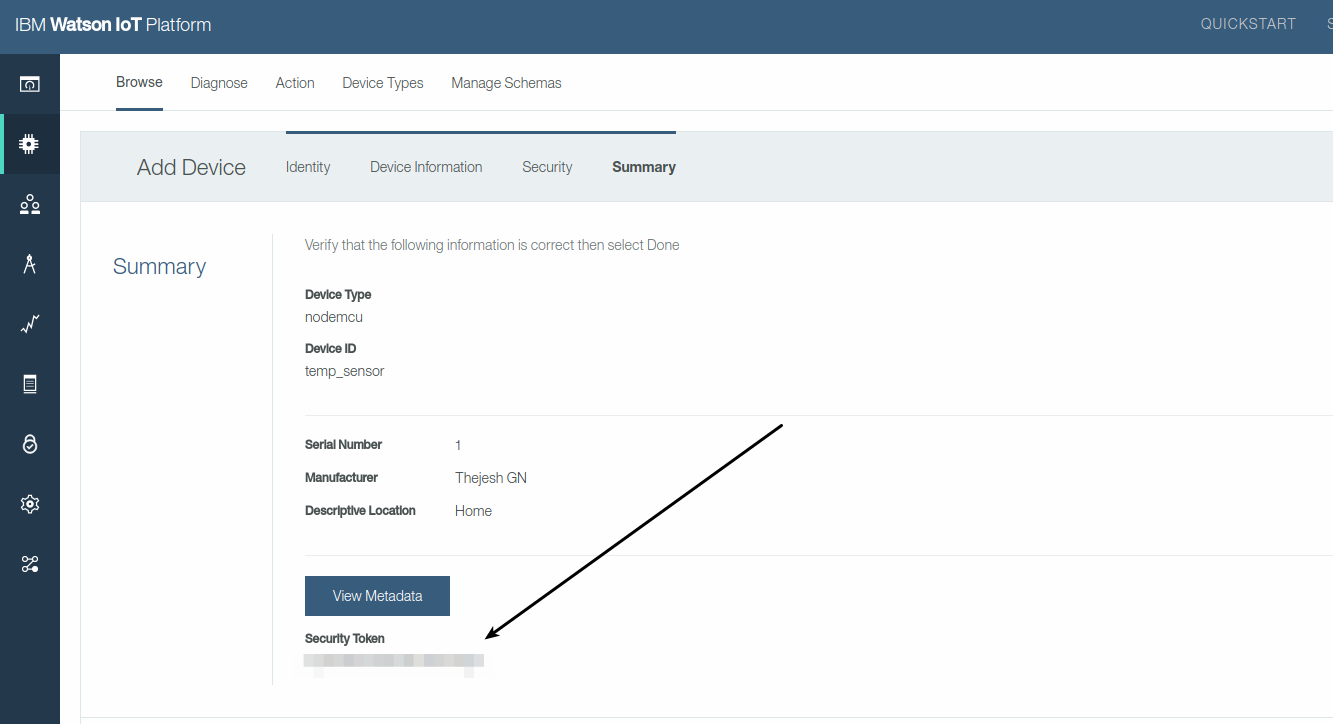
Create security Keys
Please remember the security keys. This is the only place it’s shown. This is required by the device to send data to IBM IoT.
Device Logs
At any point in time you can login and see the device details like logs, events, data etc
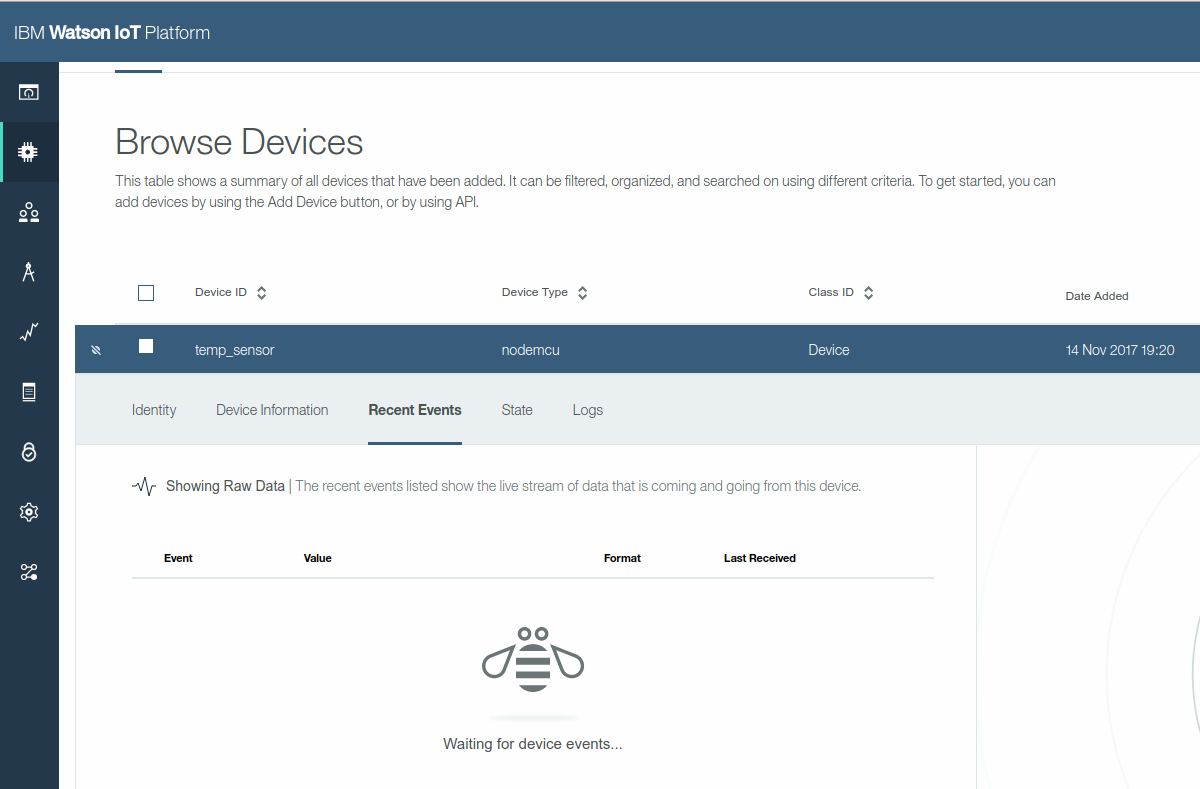
Send Data
There are two ways to send data to the IBM IoT. HTTPS web api’s and MQTT. Let’s do a test with HTTPS first. We need to know ORG_ID and AUTH_TOKEN (You noted it right?)
curl -u "use-token-auth:<AUTH_TOKEN>" -H Content-Type:application/json --data-ascii "{\"datetime":"2017-11-14T14:08:23.498Z\",  \"temp\":20}" https://<ORG_ID>.messaging.internetofthings.ibmcloud.com:8883/api/v0002/device/types/<DEV_TYPE>/devices/<DEV_ID>/events/<EVENT>
#For our case
curl -u  "use-token-auth:mymaskedpasswordthatIremebered" -H Content-Type:application/json --data-ascii "{\"datetime\":\"2017-11-14T14:08:23.498Z\", \"temp\":24}" https://hpqvnx.messaging.internetofthings.ibmcloud.com:8883/api/v0002/device/types/nodemcu/devices/temp_sensor/events/temp2
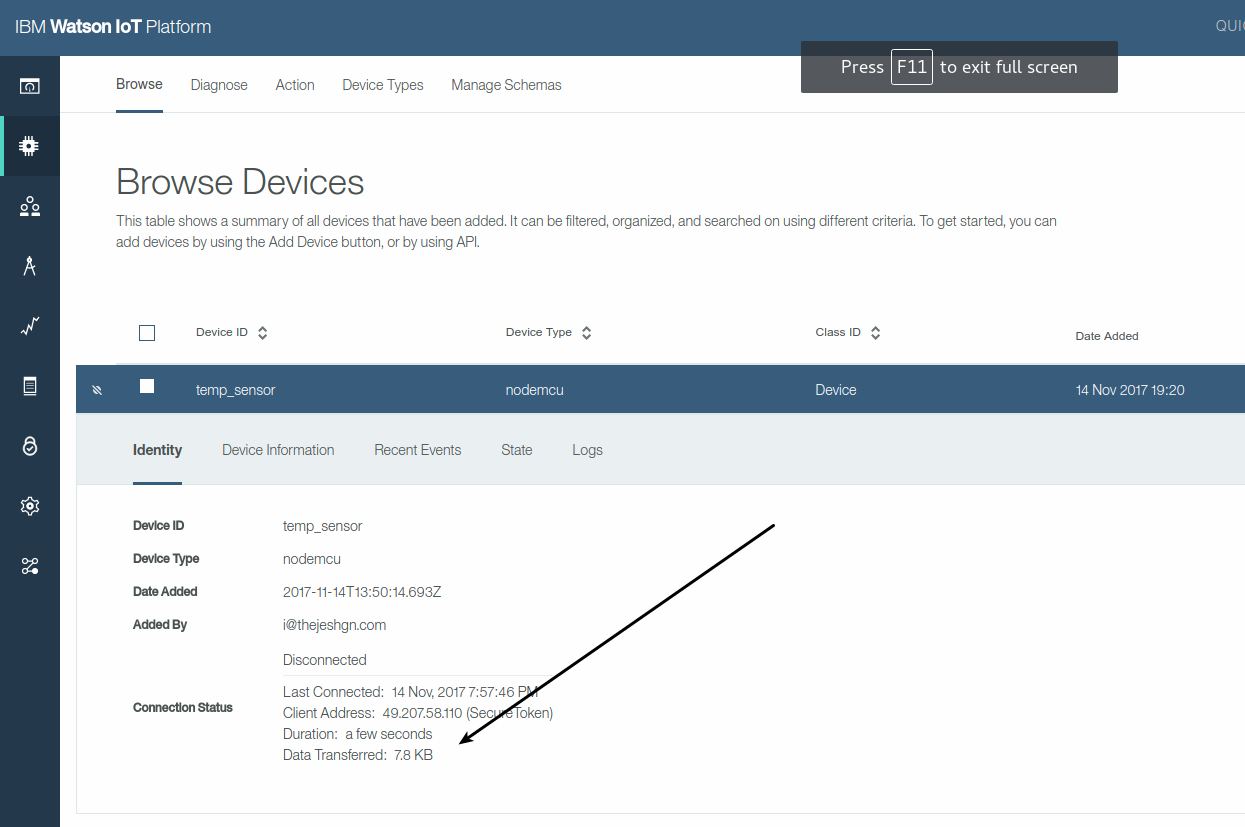
Now if you go to your device page and check for the data, you should be able to see it. It shows connection status as not connected because it’s HTTPS which is not a persistent connection like MQTT.
Now we can modify our code to send HTTPS requests to IBM IOT every five minutes. I use simple python requests to send the data to IBM. Make sure you use HTTPS.
In the part 2 of this blog we will learn how to create dashboards and rules for alerting on certain conditions.