Getting started with Software Defined Radio using RTL-SDR
I am an electronics and communication engineer by education 1. The most fascinating subjects during my engineering were Antenna theory and Fields & Waves. They were also very difficult and confusing. Mostly because it was just theory and we didn't have much lab. Also it took me a long time to understand the FFT. The idea that you could convert signal from time domain to frequency domain and vice versa, was so confusing in the beginning that I ignored it. But it made my day when I understood it. It was long time after my engineering course.
This post is not about spectrum analyser though it is very close to it. This is about software defined radio which can also be used as spectrum analyser if you like to. In fact in any SDR systems you will end up seeing spectrum (waterfalls) to do some analysis. It has become my second nature now, which used to be a scary thing in my engineering days. All thanks to SDR and specifically RTL SDR.
Table of Contents
What is SDR?
You need to catch radio signals to analyse or study them. To catch them you need antennas, receivers, mixers, tuners, filters amplifiers etc. Traditionally they were all hardware components. It's the same with sending signals, they were all hardware components built for specific requirements. On the other side Software Defined Radio (SDR) is a radio communication system where some modules that have been traditionally implemented in hardware e.g. amplifiers, modulators/demodulators, detectors, etc are implemented in software. That way radio communication systems becomes much more generic and can be modified by modifying the software.

Software Defined Radio Scheme - Adopted by LtCdr Topi Tuukkanen, Project Manager, Finnish Software Radio Demonstrator from various scientific articles, studies, conference papers etc in public domain.
As you can see in the above image parts of communication system are in hardware and the rest is software. This gives us the flexibility of modifying the the system as we want.
What is RTL SDR?
RTL-SDRs are DVB-T TV tuner dongles that were based on the RTL2832U chipset. It was meant to receive TV and Radio transmission. Radio hackers did the reverse engineering and wrote FOSS software to re-purpose it as SDR. The price was so low that it raised a lot of interest in the hacker community. It made SDR popular & accessible. The one I have is DVB-T+FM+DAB 820T2 & SDR. I remember paying around ₹1000 for it. The package usually consists a CD, small antenna and USB Dongle.
Blue USB Dongle is the RTL SDR, you can also see a small antenna
Today there are better choices like HackRF, Airspy etc but nothing beats the cost of RTl-SDR. The one I have can be used for receiving frequencies from 25MHz to around 1800MHz. The range covers AM, CW, Wide FM, Narrow band FM, SSB etc. The only limitation being that it's only a receiver and not a transmitter. But it's a good limitation. Usually one needs some form of license to transmit. This kind of limits any such transmissions by accident.
Software
GNU Radio
GNU Radio is a Free & Open-Source Toolkit for Software Radio. One can use GNU Radio's signal processing blocks to implement software radios. But there are more user-friendly UI's to interface with GNU Radio. Amongst them I love PLSDR and ShinySDR. Both are written in Python. PLSDR gives you QT based Desktop UI. ShinySDR runs as a web/app server that can be accessed over the networ using browser. I use both of them based on my requirement.
PLSDR
PLSDR is a powerful Python-based software-defined radio (SDR). This SDR is written in Python and relies on the Gnu Radio for it's inner workings. Installing it is straight forward on Ubuntu
#install gnu radio and pyqt
sudo apt-get install gnuradio gr-osmosdr python-pyqt5

#clone the github project or download the project
git clone https://github.com/lutusp/PLSDR

#launch by cding into PLSDR folder and running
python PLSDR.py
The above should run GUI. In the GUI on the top right select the Device - RTL-SDR and click on start. You should immediately see wave forms in the left. There is a dial in the top left corner. Using the mouse scroll tune it to the nearest FM radio station that you know. You should be able to see strong signals. To hear the sound you need to demodulate the Frequency Modulated signal and hence choose Mode - WFM (Wide-band Frequency Modulated). Now you should be able to hear the radio station. In the picture below you can see that I have tuned to 93.5 MHz.
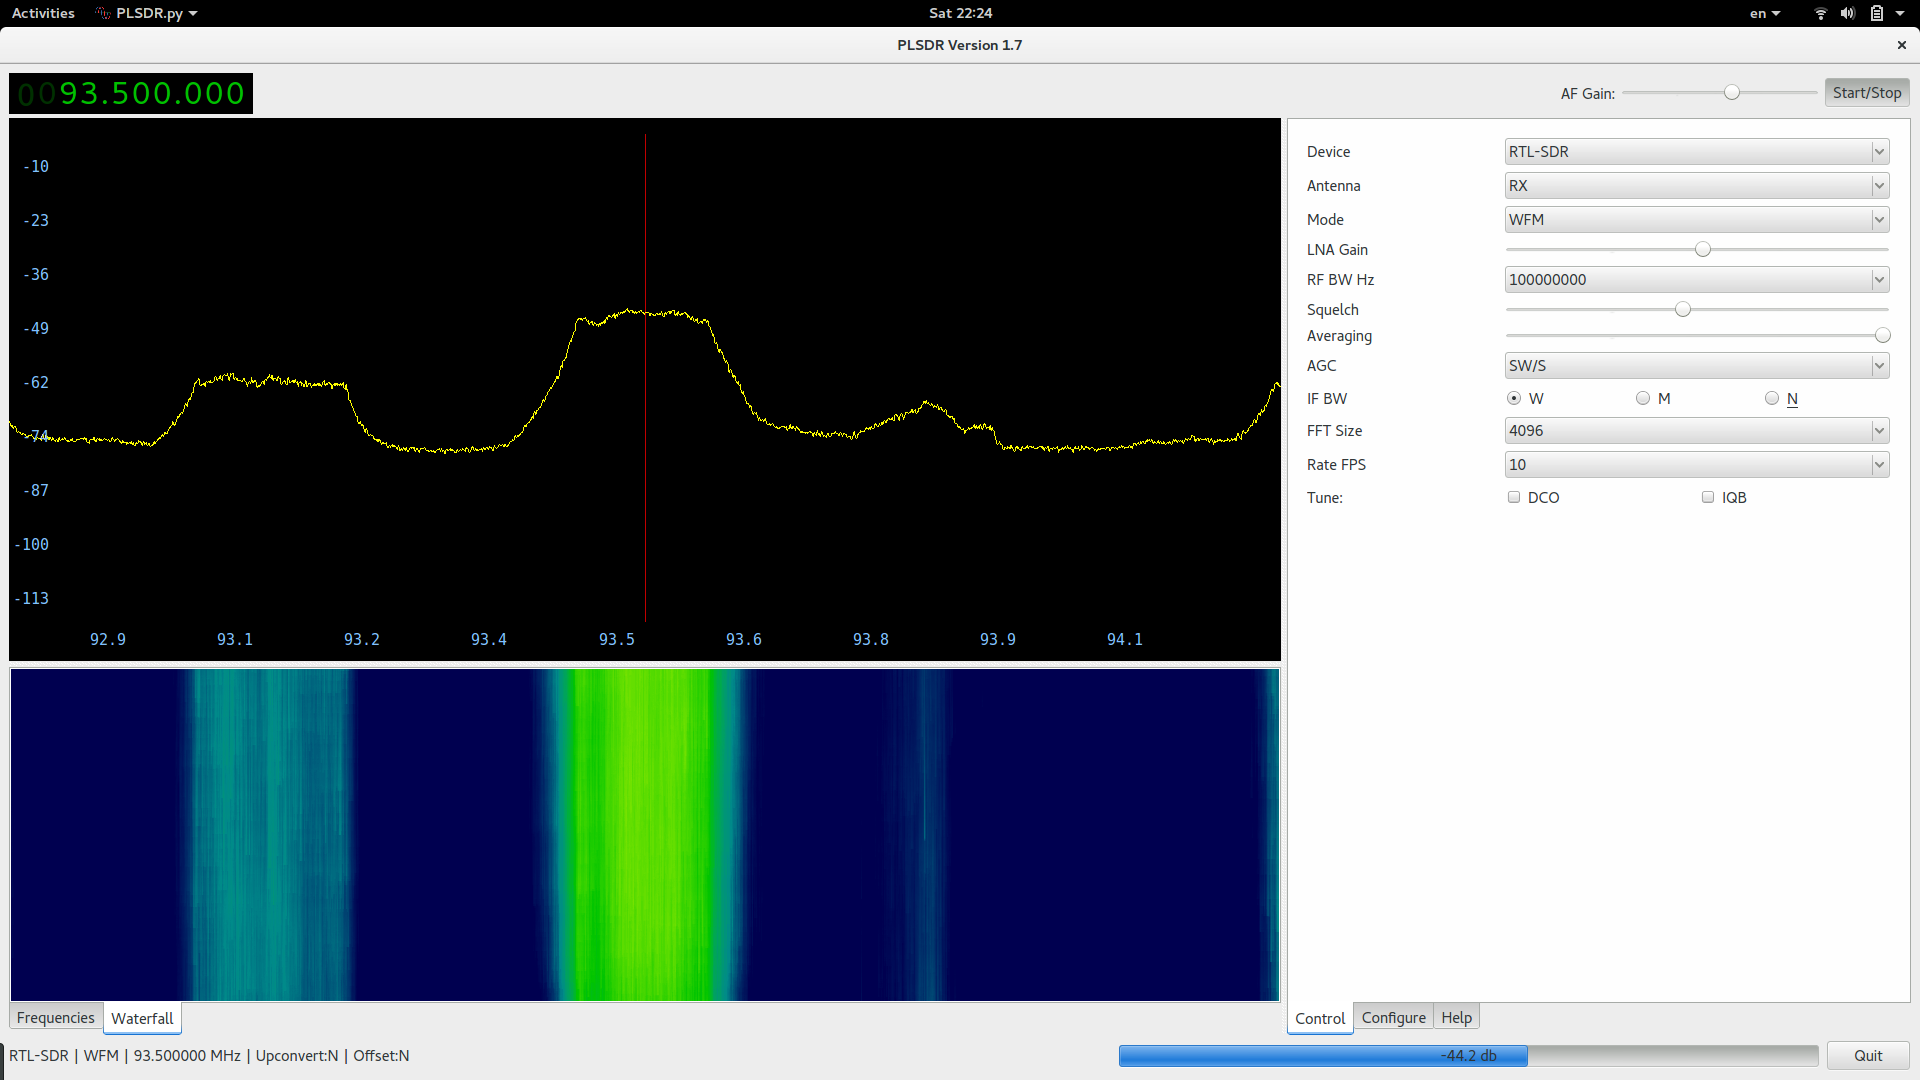
A powerful Python-based software-defined radio (SDR)
Play with receiving citizen band if you know anyone that has a citizen band walkie - talkie. Or any other signal that you know. GUI is straightforward and quite easy to use.
ShinySDR
ShinySDR is a software-defined radio receiver. It runs as a specialised web/app server which can be accessed over the network using a browser. It's written in Python. It uses GNU Radio behind the screen.
To install
#clone the project
git clone https://github.com/kpreid/shinysdr/

#install dependencies
cd shinysdr
./fetch-js-deps.sh

#call python install
python setup.py build
sudo python setup.py install
Running is quite straightforward. First create a folder called shiny_config and then create configuration files by using the --create flag. Once this is done you can launch the program by passing the config folder. It will start the web server and will give you a url to access. You can open that URL from the browser.
#create configuration dir
shinysdr --create shiny_config

#start by pointing to configuration directory
shinysdr -g ./shiny_config

#access using browser
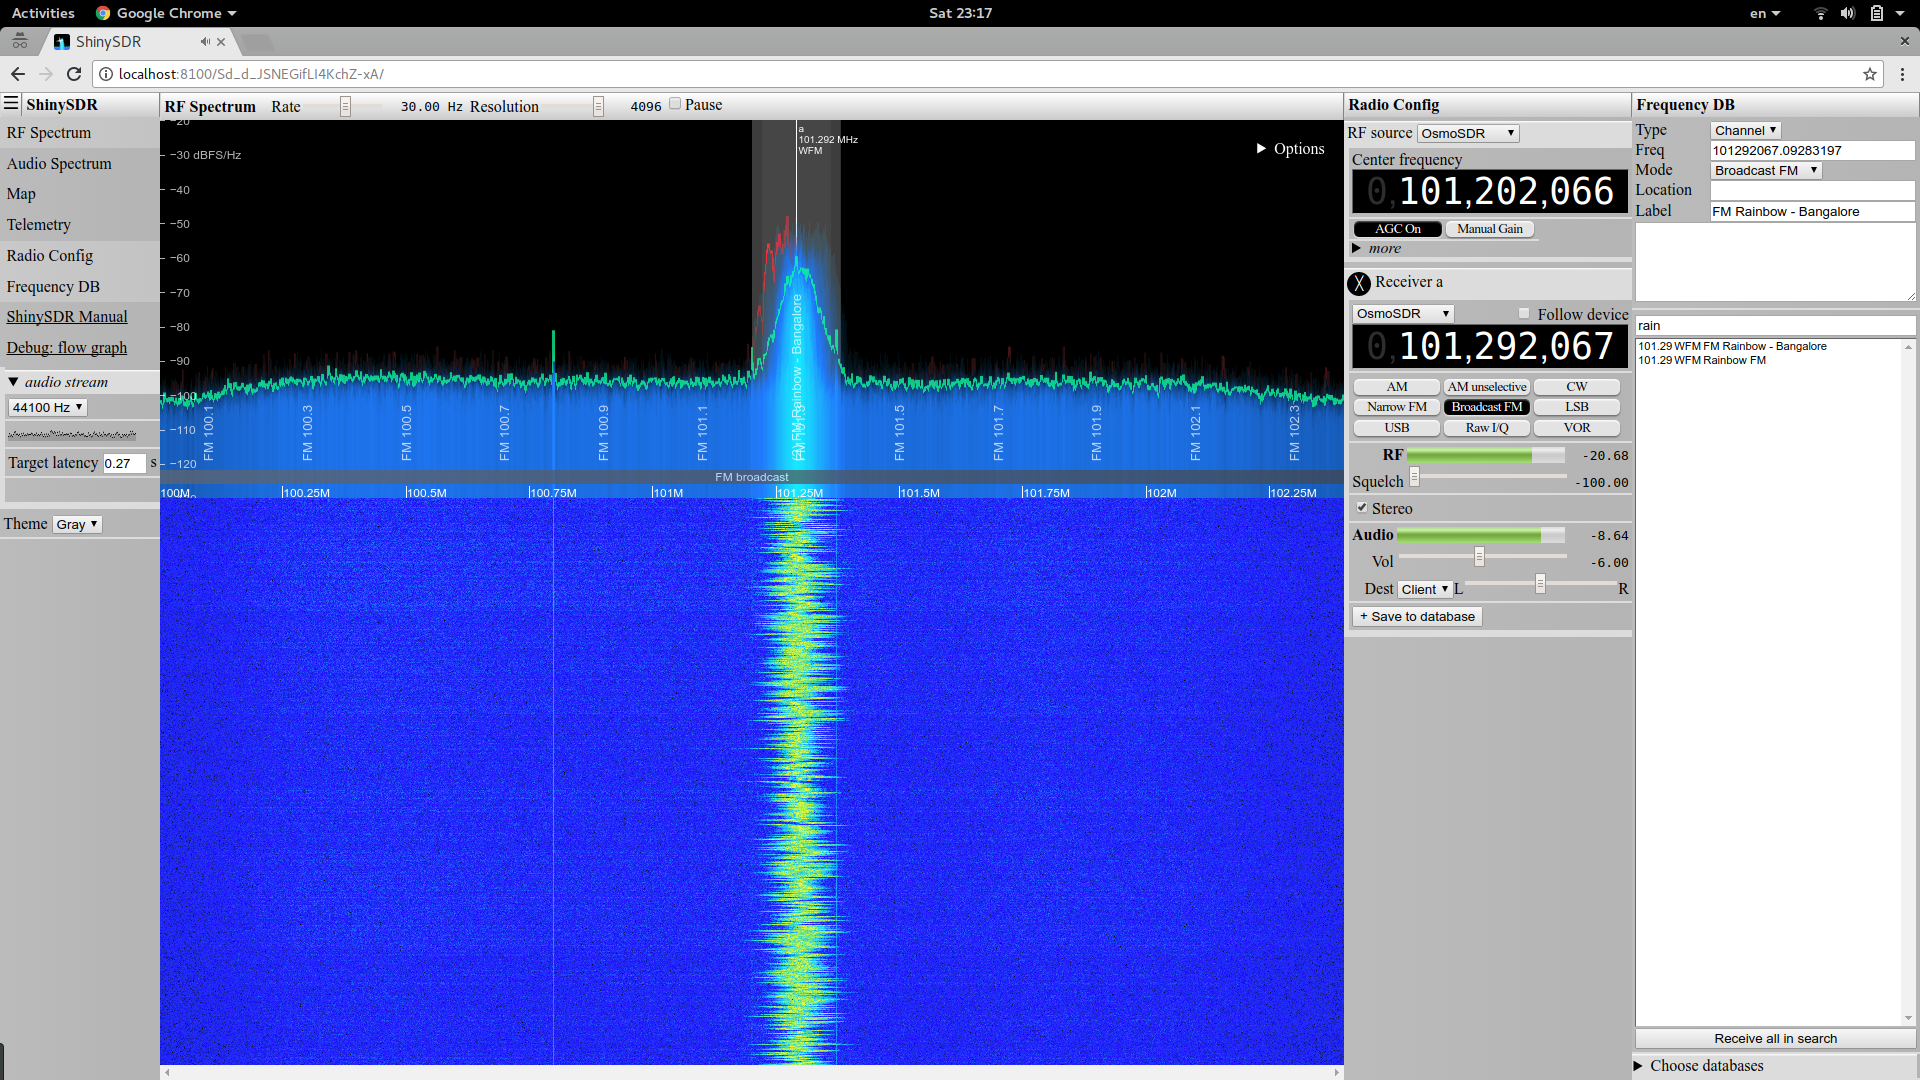
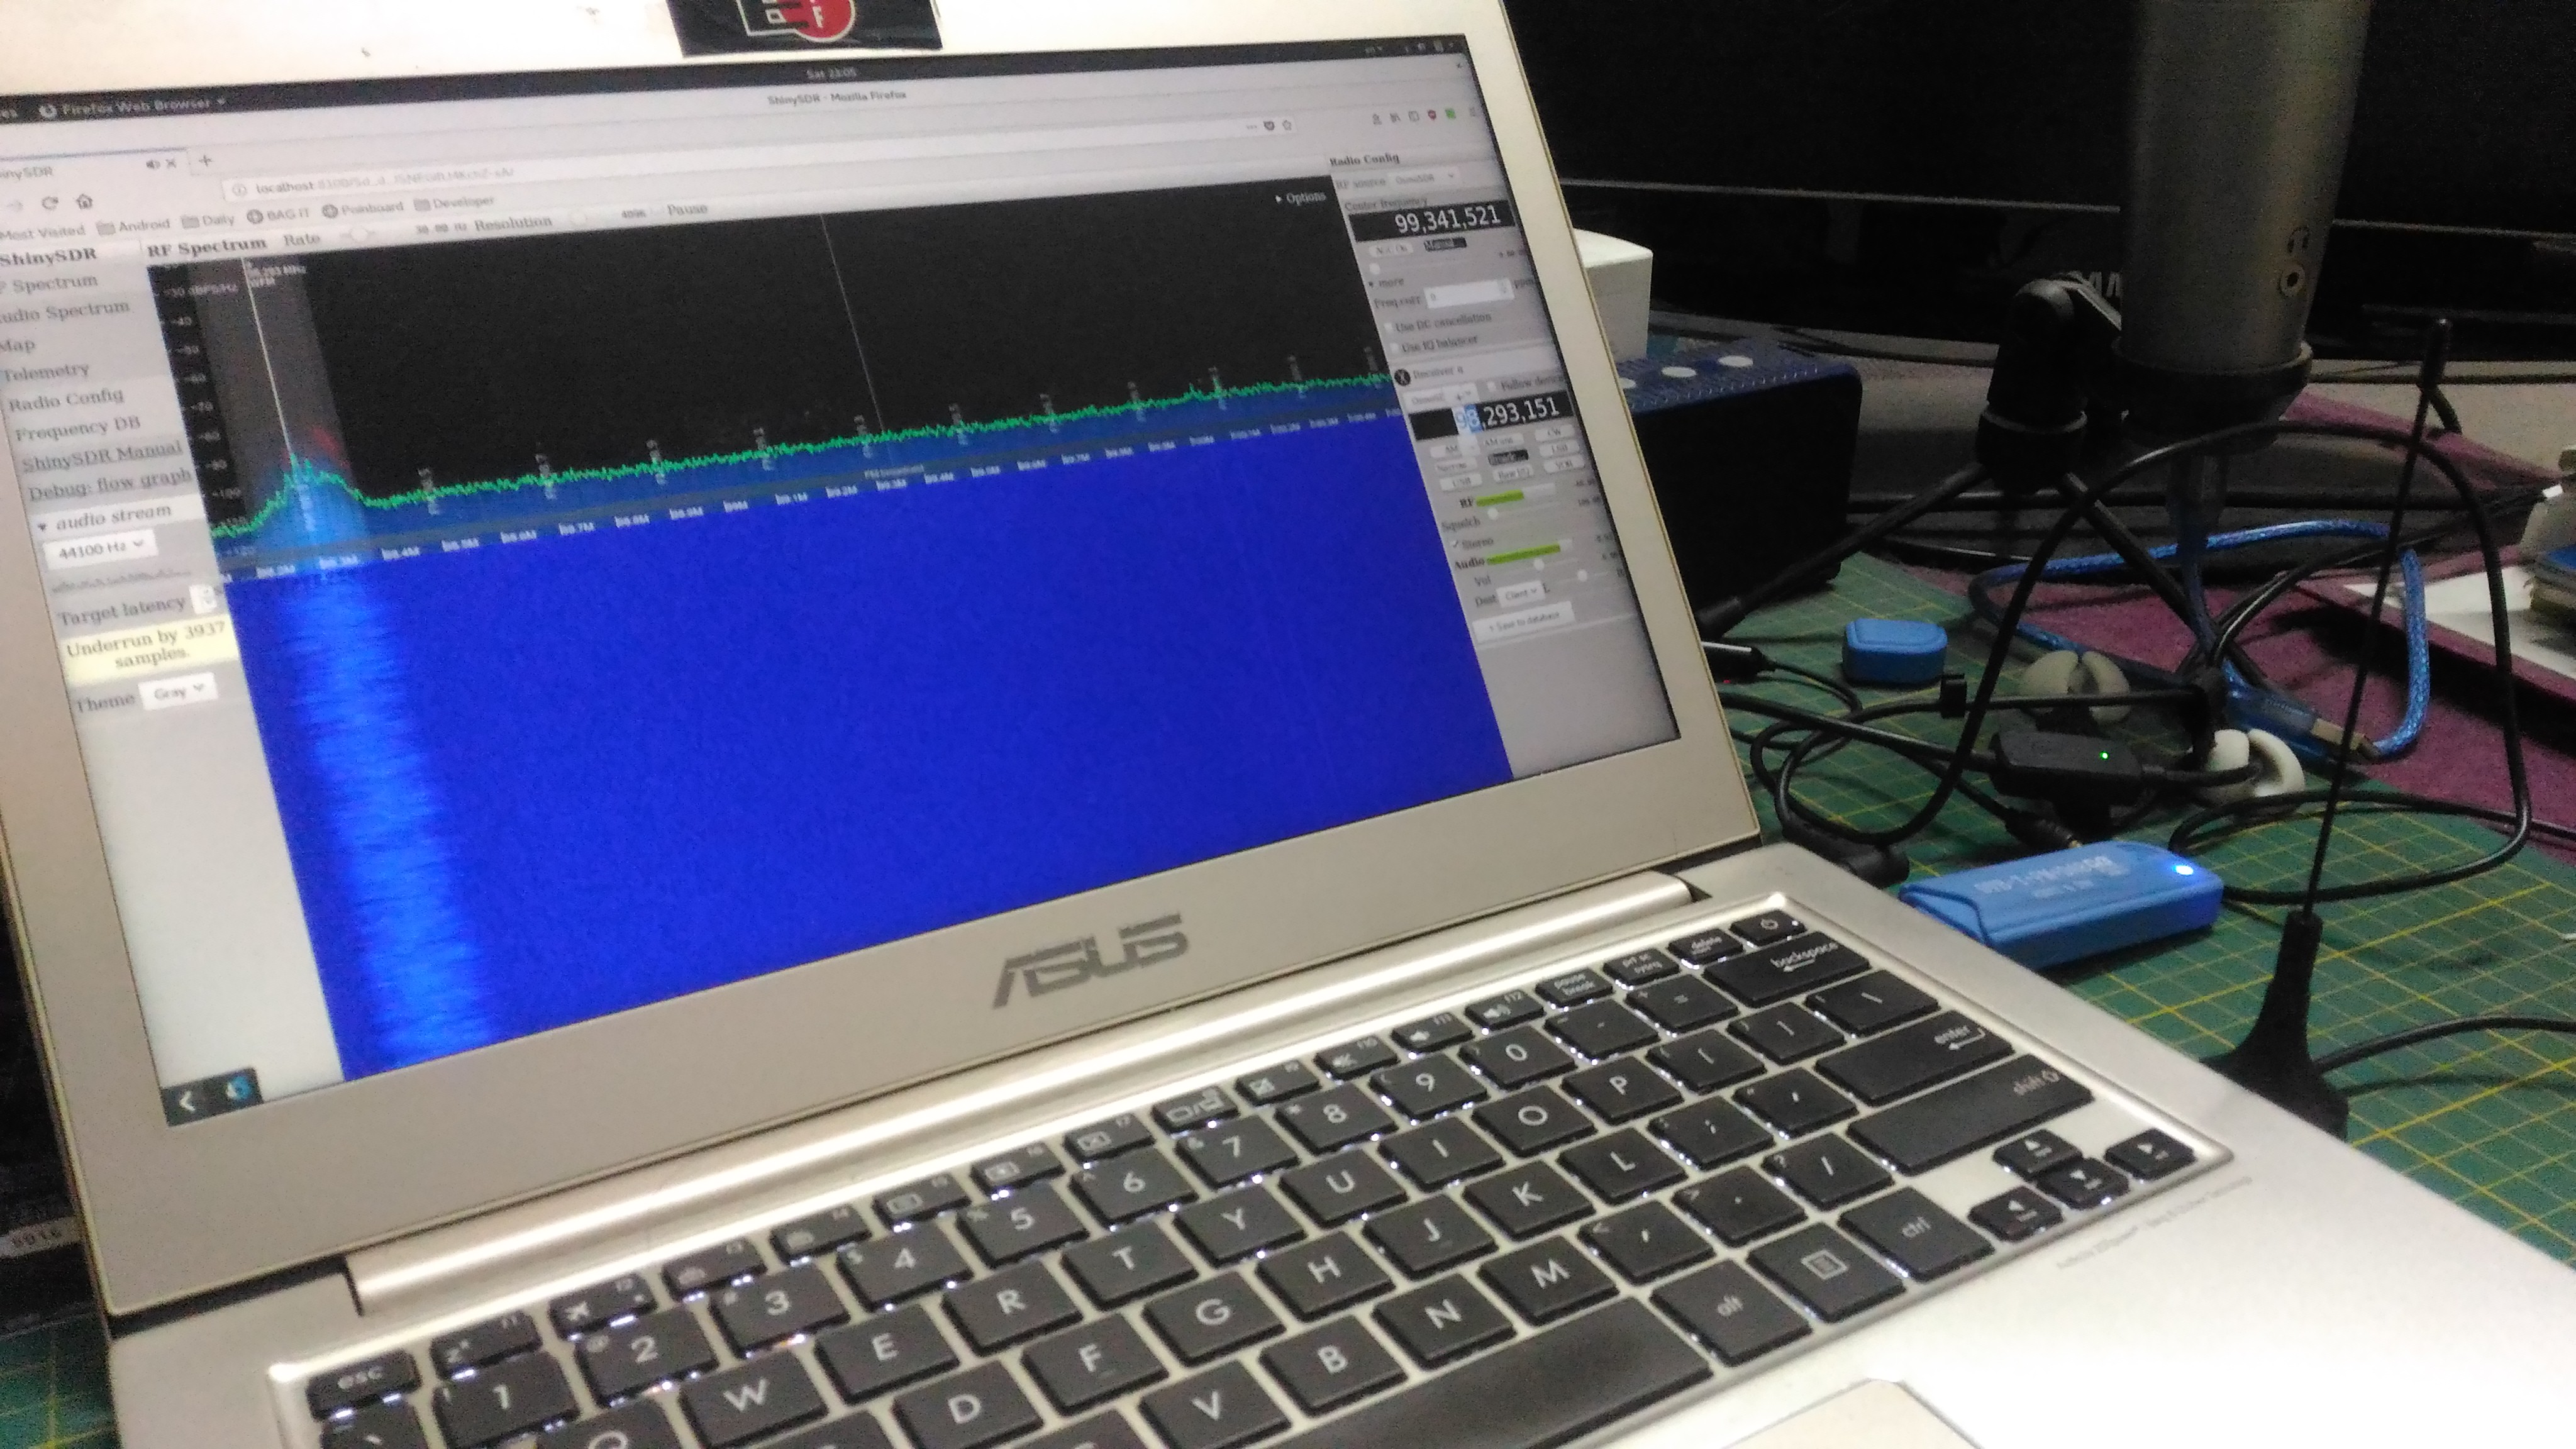
ShinySDR runs as a specialised webserver. It can be accessed through browser.
You can use the dial on the right side to tune to the specific frequency. In the above picture I have centered my spectrum analyzer at 101.202MHz and then I have dialed to the frequency 101.292MHz. 101.292MHz is a regular FM radio station in my city. In the picture I have also chosen Broadcast FM (Sometimes called WFM or Wideband FM) as a demodulation technique. This will demodulate the signal and play the songs for me in the browser. The user interface is very easy to use. Since this can be used over net/browser, you can run this on a Rpi and access from wherever you like. The maker recommends 3 Mb/s or greater speed for better access over internet2. I like shinysdr for this reason.


I came across this interesting website about SDR using Matlab, Simulink, RTL-SDR . https://www.desktopsdr.com/
It looks great. But I don’t use Matlab anymore :(
I am mostly in FOSS world and use Python.
Here is open source software on github https://github.com/f4exb/sdrangel It supports RTL-SDR also
This looks great. I will try and let you know how it goes.
Raspberry Pi: Running an SDR https://www.essexham.co.uk/news/raspberry-pi-as-an-sdr.html
I am new to linux. I do not know what “$ ./fetch-js-deps.sh” is supposed to do, but this is what happens on my machine when I try to run it.
tv-puter@TV-Puter-mx:~/shinysdr
$ ./fetch-js-deps.sh
bash: ./fetch-js-deps.sh: No such file or directory
tv-puter@TV-Puter-mx:~/shinysdr
$
Thanks,
https://blog.alexellis.io/track-flights-with-rpi/ Get eyes in the sky with your Raspberry Pi . Another interesting and relevant DIY project using RTL-SDR
Hi Thejesh,
I am looking to develop a Analog Feedback communication system transmitter and receiver with the help of SDR and GNU radio. I am new to this can please help me develop this?
Is it possible to implement a feedback system from receiver back to transmitter in GNU radio?