My Workflow with Mercurial (Hg) and bibucket
Mercurial is a free, distributed source control management tool. It efficiently handles projects of any size and offers an easy and intuitive. Bitbucket is a free code hosting site for the popular Mercurial distributed version control system. You know the reason why I chose Bitbucket/Hg as opposed to GitGub/git. This tutorial is my regular workflow involving Mercurial and BitBucket. I hope its useful to you too.
1. Create or Fork a Repository at BitBucket
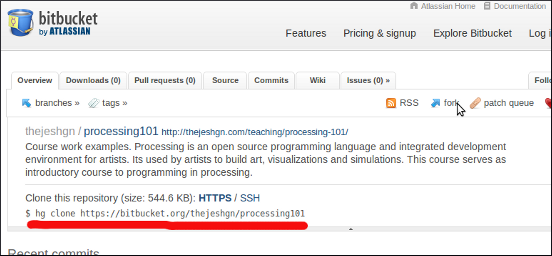
There are two ways to start with bitbucket. Either create a new project repository or fork/join existing repository. By forking you will create a new repository which is an exact copy of the original repository with you as admin. You can also contact the admin of existing repository and join as contributer. Make sure you have write access so you can push the changes.
2. Install TortoiseHg on your local machine
TortoiseHg is a Windows shell extension and a series of applications for the Mercurial distributed revision control system. It also includes a Gnome/Nautilus extension and a CLI wrapper application so the TortoiseHg tools can be used on non-Windows platforms. Its available for Win, Linux and MacOS.
3. Clone the project
Now to work on the source files you need to clone the repository to local machine. You can do it using the command prompt
>hg clone https://bitbucket.org/thejeshgn/processing101
or right click inside your file browser – TortoiseHg – Clone
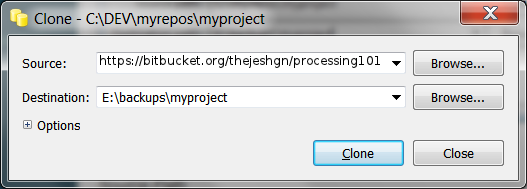
This creates a local copy of the repository. This is a complete working repository with all the historical data. This is your working directory. (.hg contains all the historical changes)
4. Add files and commit
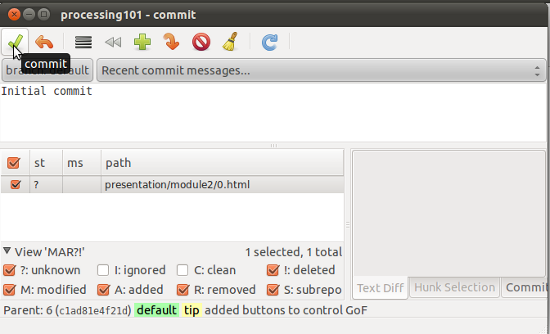
You can add files or commit changes to local repository by right clicking on the folder and clicking commit. This commits the changes to local repository. This is your own repository, committing to this doesn’t change the central (bitbuket) repository.
5. Push
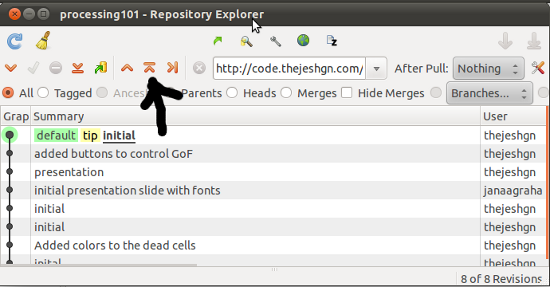
Once you are confident enough,. You can push the changes to central repository. It pushes only committed changes. Make sure your central repository url is right. When it asks for credentials, give your bitbucket credentials.
6. Pull and Update
As part of your collaborative work, you may want to pull the changes made by others to your local repository. Click on the "Pull incoming change sets". Once the changes are pulled, the local repository contains all the change sets, but it doesnt update the working folder yet. Right click and "Update" for the working directory to update.
7. Share in local network
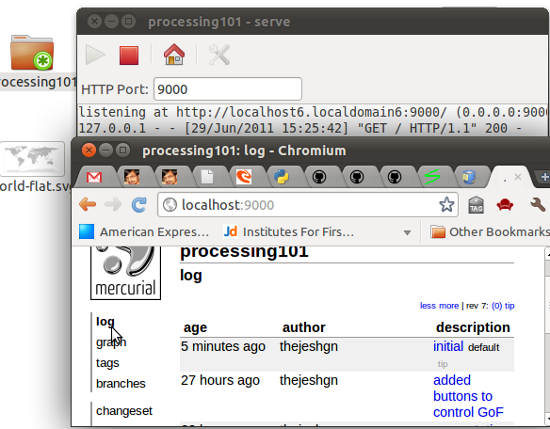
This is not a necessary step. But If you want to quickly share your local repository inside local network with out pushing to central server then either copy the whole folder or run the TortoiseHg webserver
Work flow in one diagram
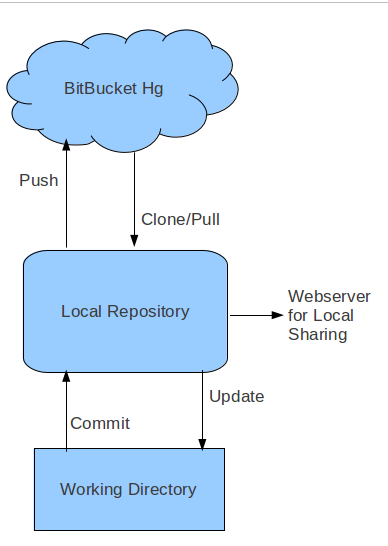
Ref: Mercurial Kick Start tutorial, The Definitive Guide.


Do you use Windows and Ubuntu at the same time?
This was written on multiple machines and hence screenshots from different OSes. I use Ubuntu.