Installing Enhet Wall Cabinet
Installation is easy with just two screws, but I didn’t believe just two screws would be enough, so I did more. I got two L-shaped clamps and screwed them to the wall at the bottom so that the sides wall and back corner of the cabinet would sit on them for the additional support, along with two IKEA standard screws on the top.
Table of Contents
I searched the market; I needed two strong L-shaped clamps with thick gauge steel that would take two screws to fix to the wall. It’s 50 mm long (along the wall) and 25 mm wide. It being wider helped it to have two screws and allowed flexibility to make the side wall of the cabinet sit on it even if I was slightly wrong in measurements (I was not).
L-Shaped Clamp for support
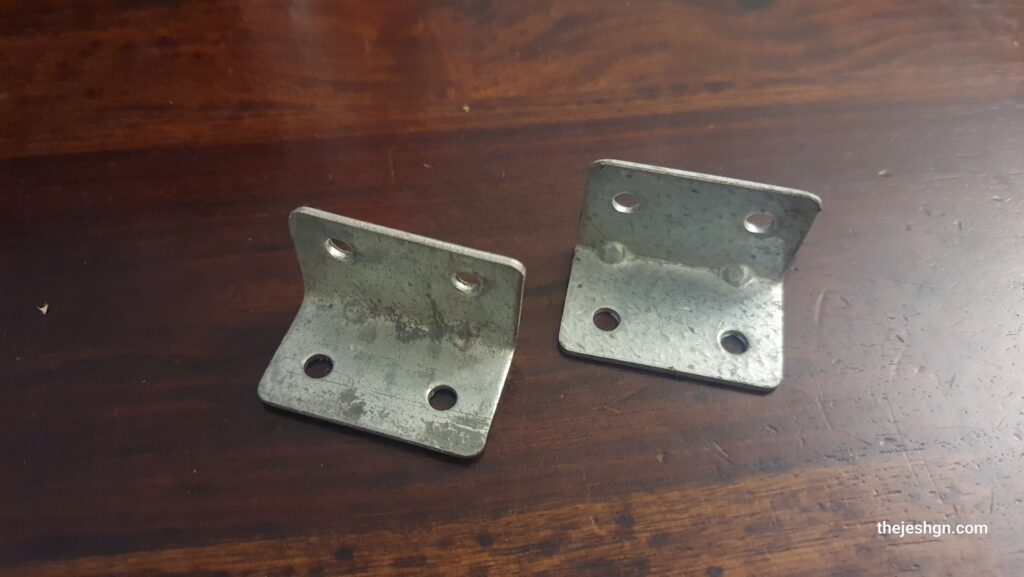
The one I found could take four screws, but I left the other two unused as I had no plans of crewing cabinet to it. The cabinet would just rest on it due to gravity. It was as if there was a ledge on a wall on which its sides were sitting.
Installation
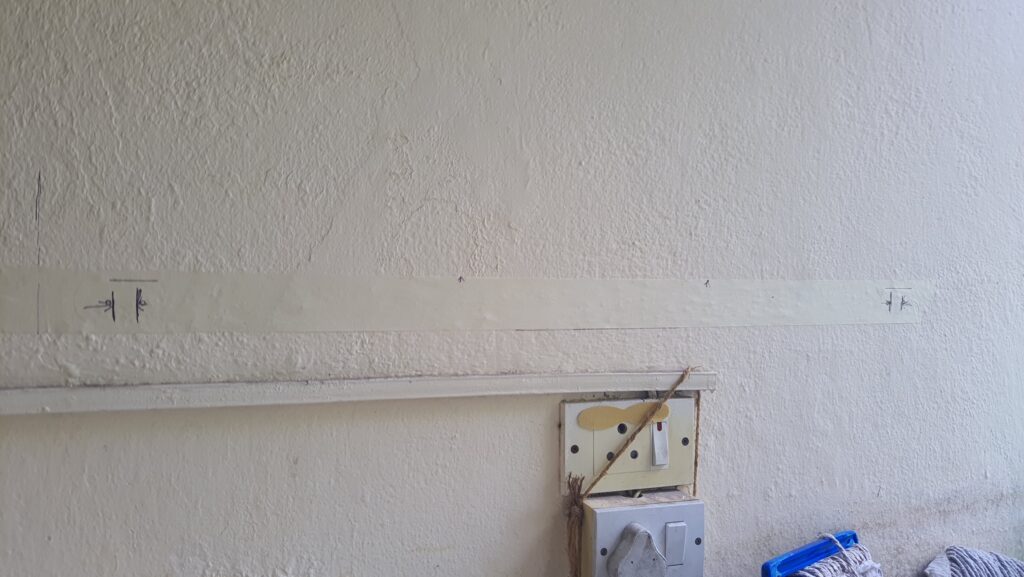
I stuck the painter’s tape to the cabinet, marked the side walls, and then stuck it to the wall. I used a physical bubble leveler to level it. You could use an app to do it.
Then made holes, added screw plastic plugs, and screwed it to the wall using two 40 mm screws. With both L-shaped clamps attached to the wall,
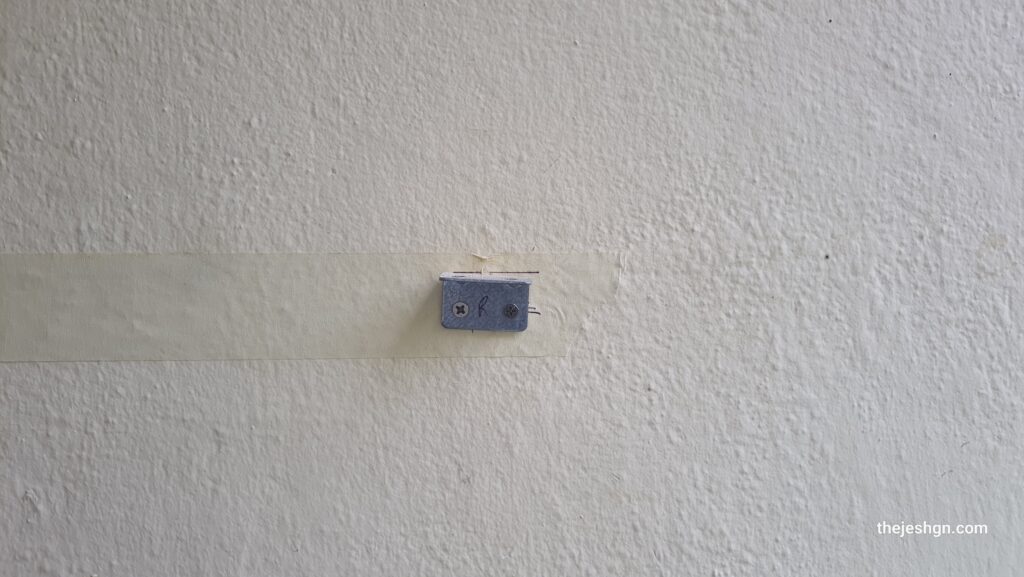
I placed the cabinet on them for support. I felt confident that they could take quite a bit of weight. Four 40 mm steel screws, fully screwed into the wall, can take a lot of weight.
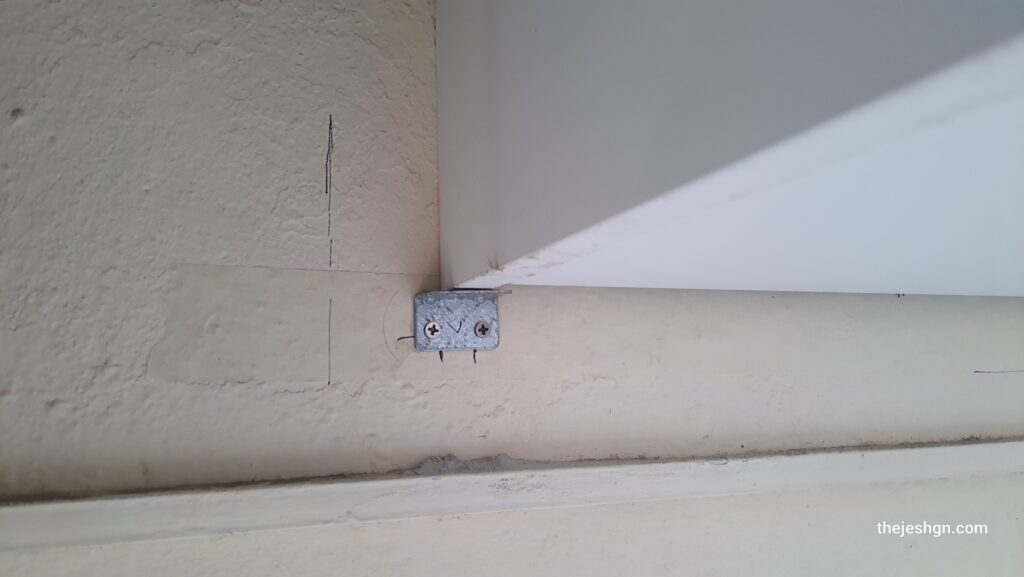
Then I added two top screws as defined by IKEA’s manual. They had given me 30 mm screws, but I used 50 mm screws.
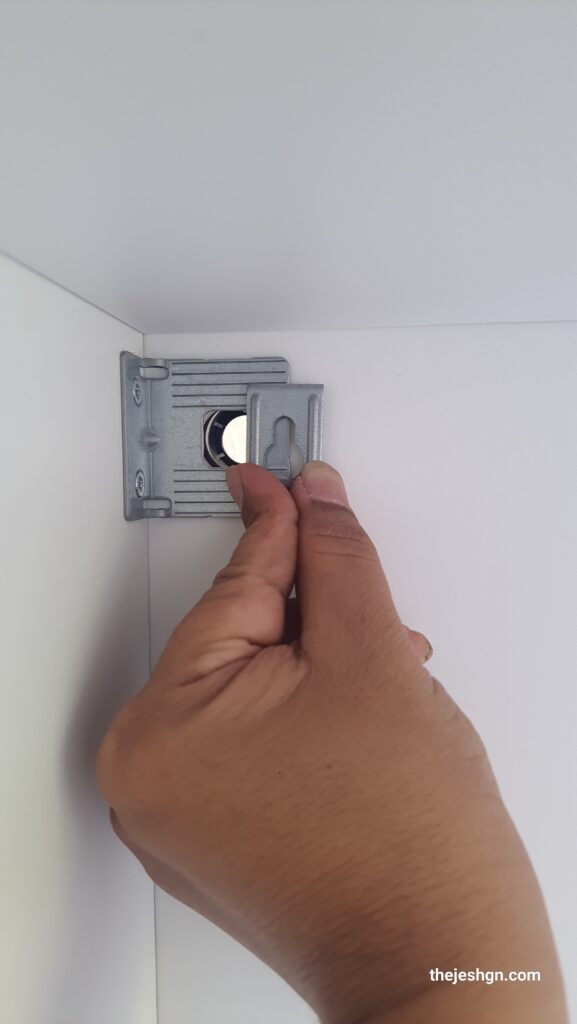
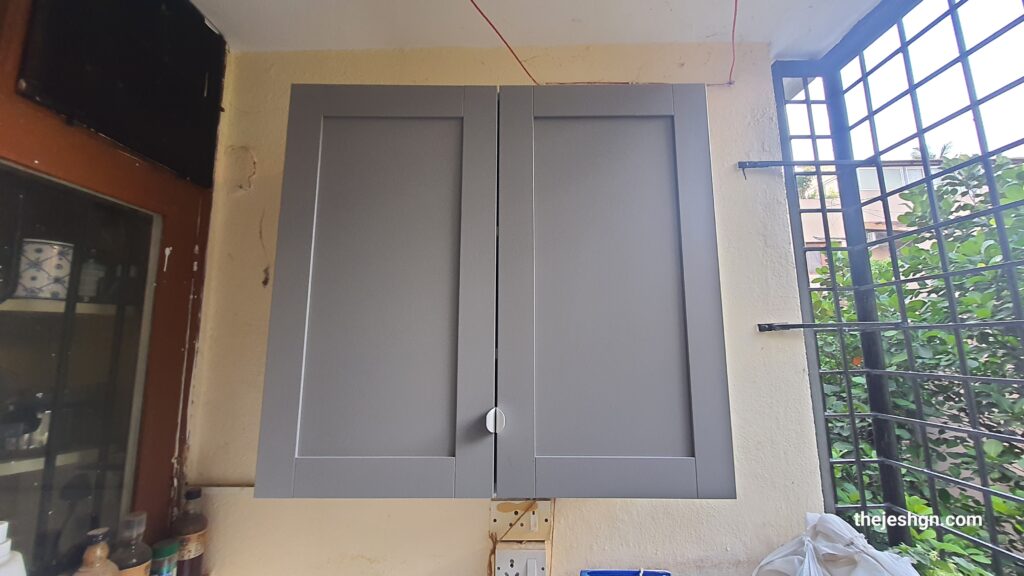
Finally, the installed cabinet seems solid and can take a lot of weight, even though we don’t plan to do that.
Additional Material required
- 2 – L-shaped clamps
- 4 – 40 mm screws
- 2 – 50 mm screws
- 6 – appropriate plastic screw plugs
Tools I used
- Power tool to make holes into a plastered cement/brick wall
- Small Power (12v cordless) tool to screw things
- Bubble Leveler
- Small hammer
- Measuring Tape
- Painter’s tape and pen
- Protection gear: i usually wear gloves at the least