How to Launch your own Online Course
MOOCs (Massive open online course) is probably the best way to reach a set of learners whom you can't reach otherwise. Its also the best way to reach thousands with just you as the teacher. That said installing and running a MOOC platform usually takes engineering skill, time and money. But lets say you are a small school or enterprise or a not for profit who wants to run on your own but doesn't have enough capability. What if I say there is an option using the same software that is used by NPTEL (National Programme on Technology Enhanced Learning is a joint initiative of the IITs and IISc. Through this initiative, they offer online courses on various topics). Wouldn't that be awesome.
The software platform is called Course Builder. The core of it is open source and available on GitHub under Apache License 2.
I am planning to write a series of how-tos. Please leave your comments or ask your questions using the comment box.
Table of Contents
Setup Local Machine
Get copy of code base using GIT and then start the project. The script will download everything required and starts server locally for you to test and experiment.
git clone https://github.com/google/coursebuilder-core coursebuilder-core
cd coursebuilder-core/coursebuilder/scripts
./start_in_shell.s
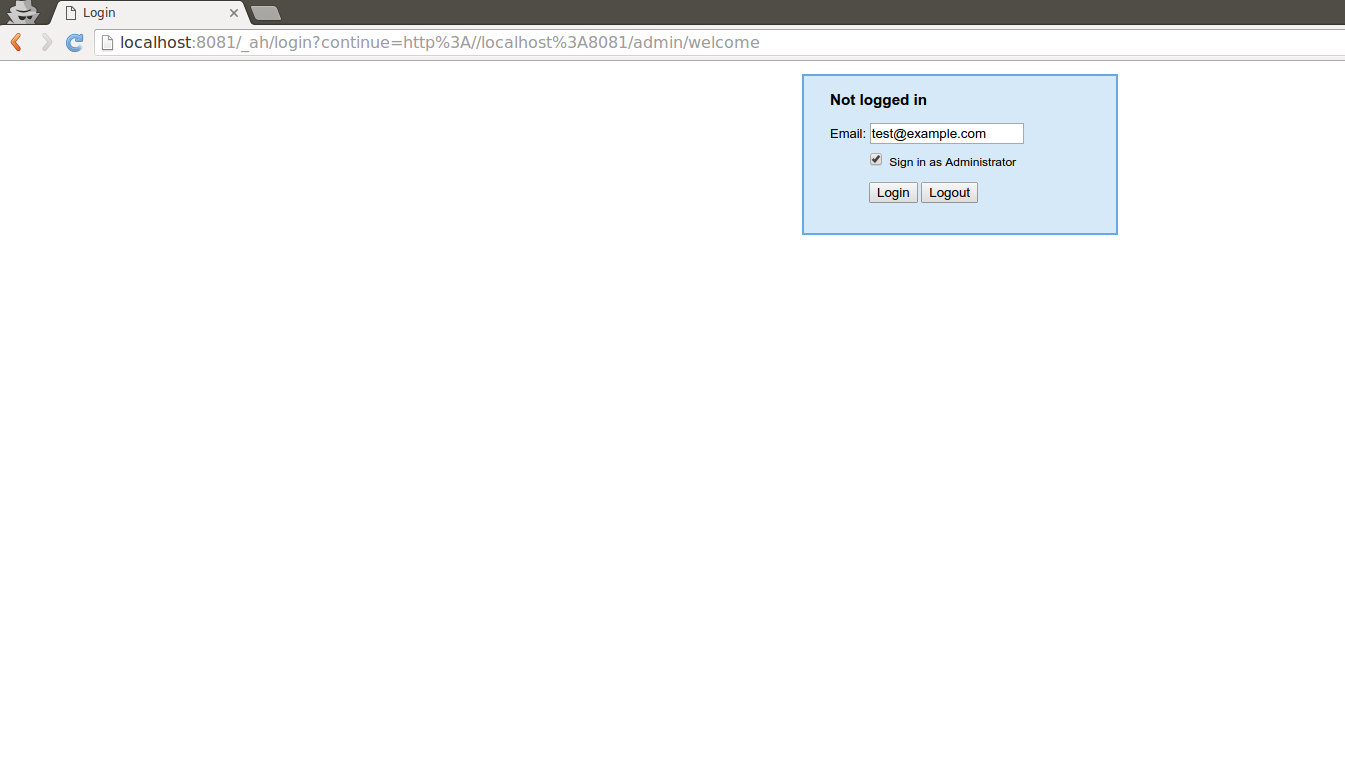
Login page on local dev server. This is only dev server feature.

Welcome page on local dev server. This is only dev server feature.
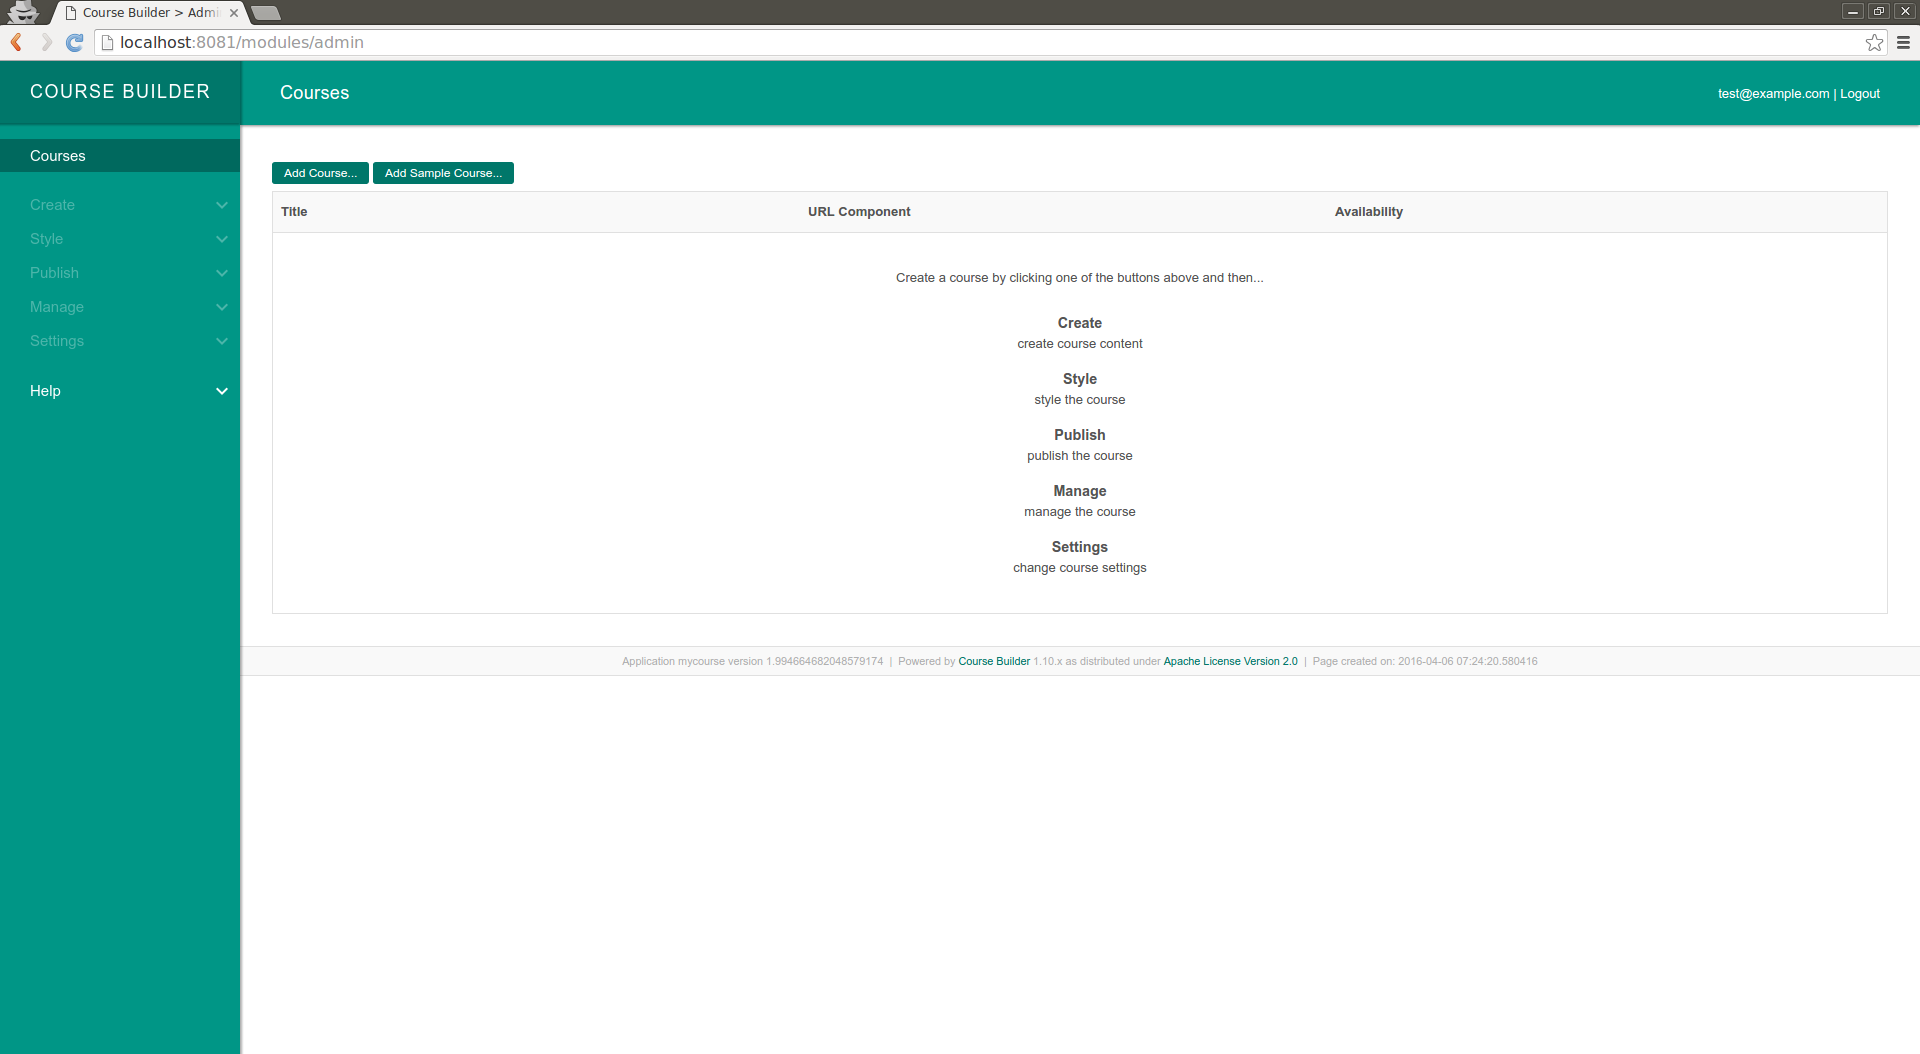
Home page of the Admin. Its empty as of now. It generally lists all the courses otherwise.
Production Setup
You need to create a project on Google App Engine. You will need a Google account for this.
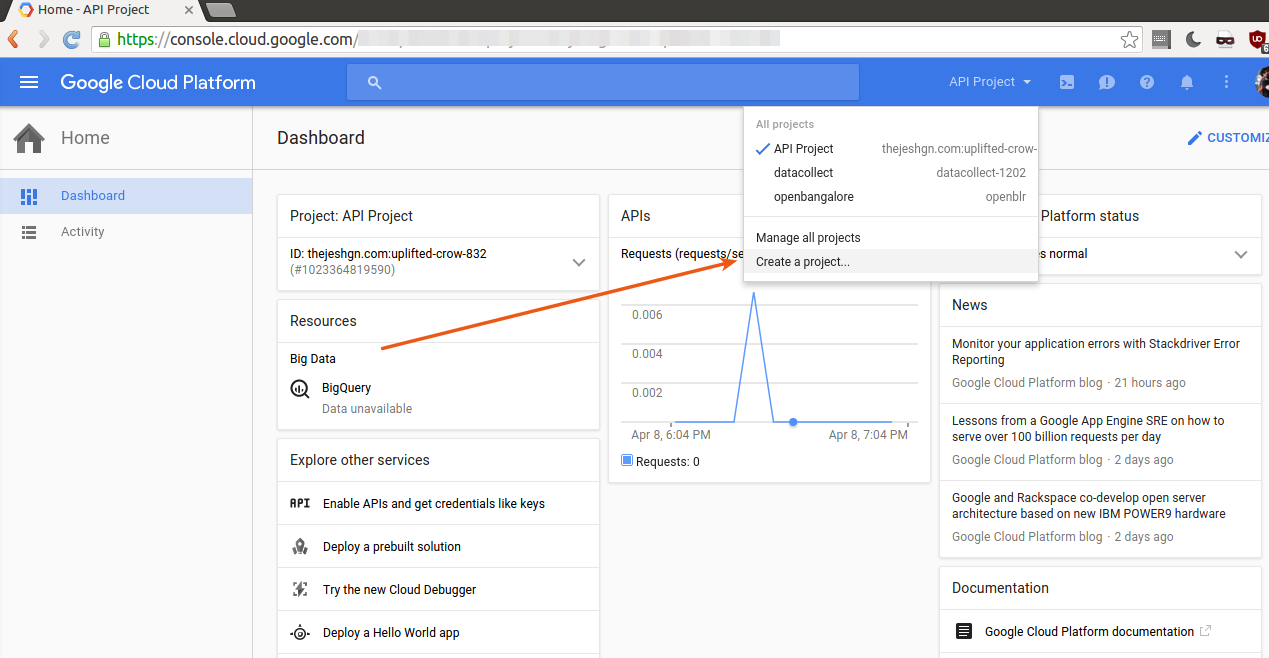
Login into cloud engine.
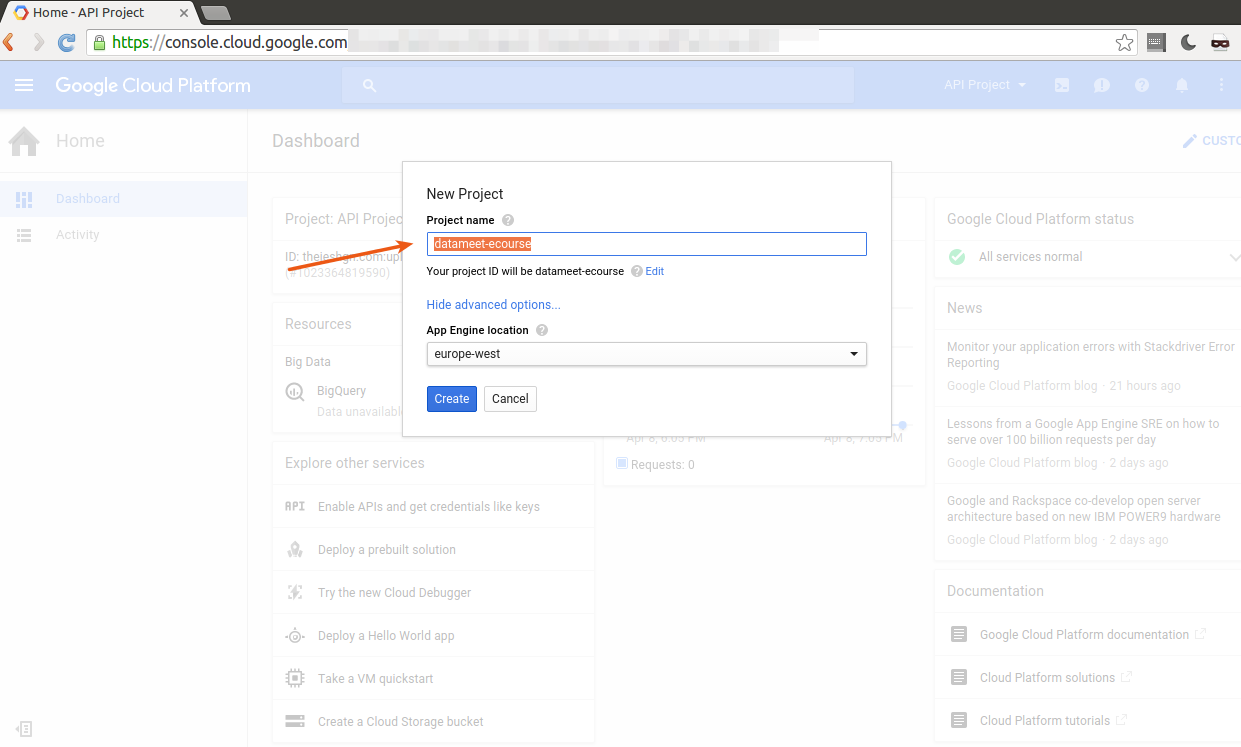
Create an App Engine project and note down the project name.
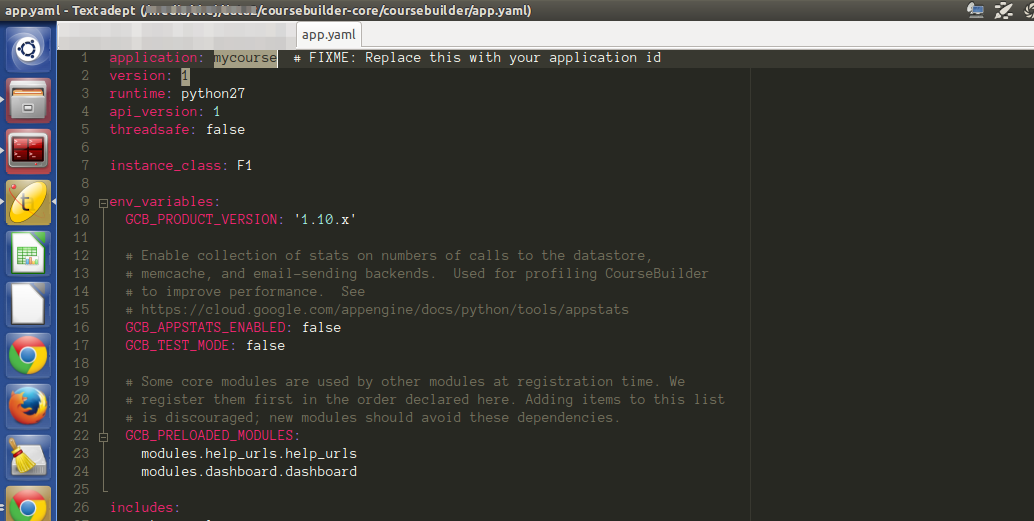
Once you create the project note down the project name. Go to the project folder and edit the file 'app.yaml' and change first two lines to include your project name and version.

Edit app.yaml to change project name (application) and version.
You can also edit site name and logo etc by editing course_template.yaml
editing course_template.yaml
Then deploy to app engine servers. It will ask you login to app engine for deployment. Please login.
cd coursebuilder-core/coursebuilder/scripts
./deploy.sh --oauth2
Once the deployment goes through. You can go to the app engine url to access the application.
Course Creation
You can create the course very easily using the UI. UI is very simple and straight forward. I have few screenshots below with captions, just to show you how easy it is.
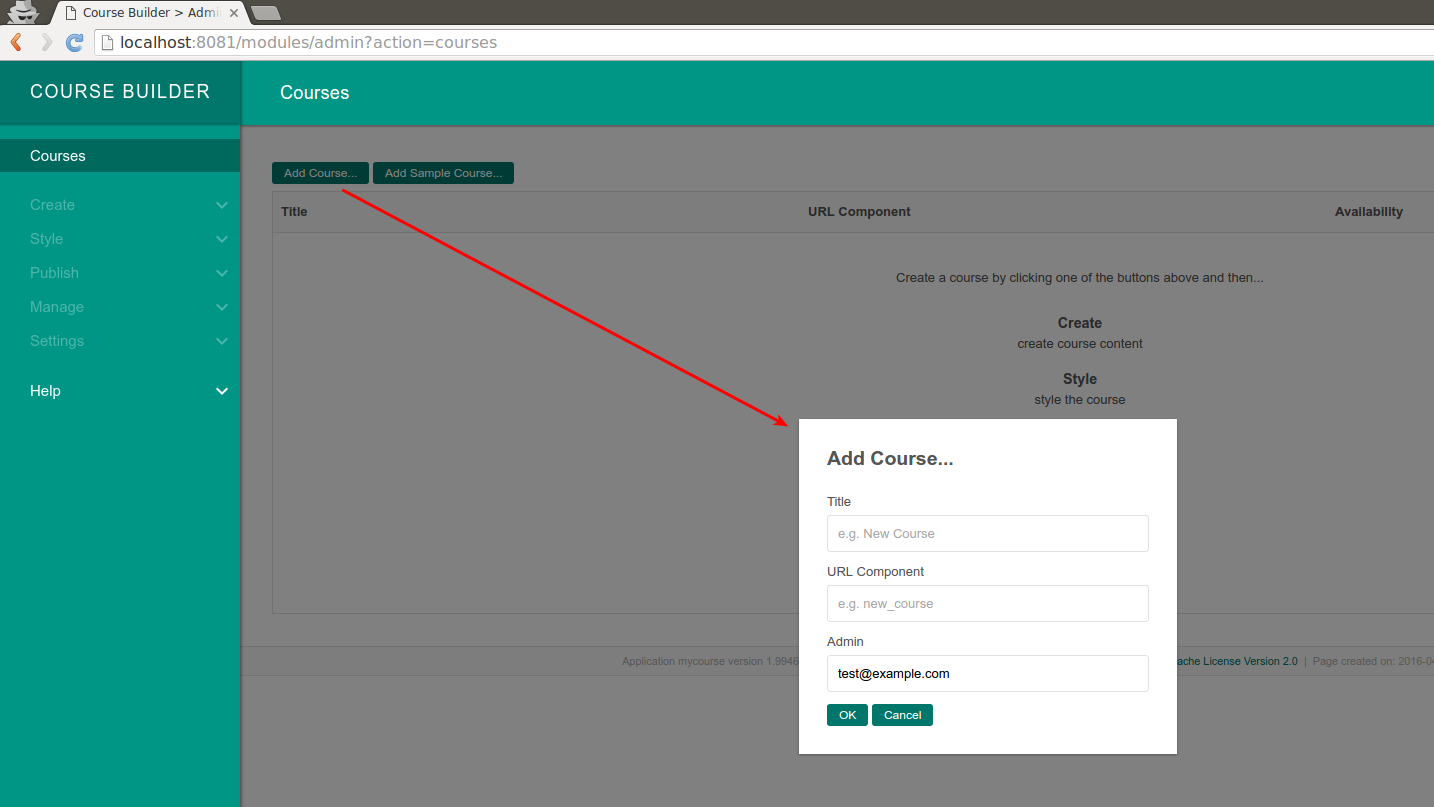
Admin - Add a new course.
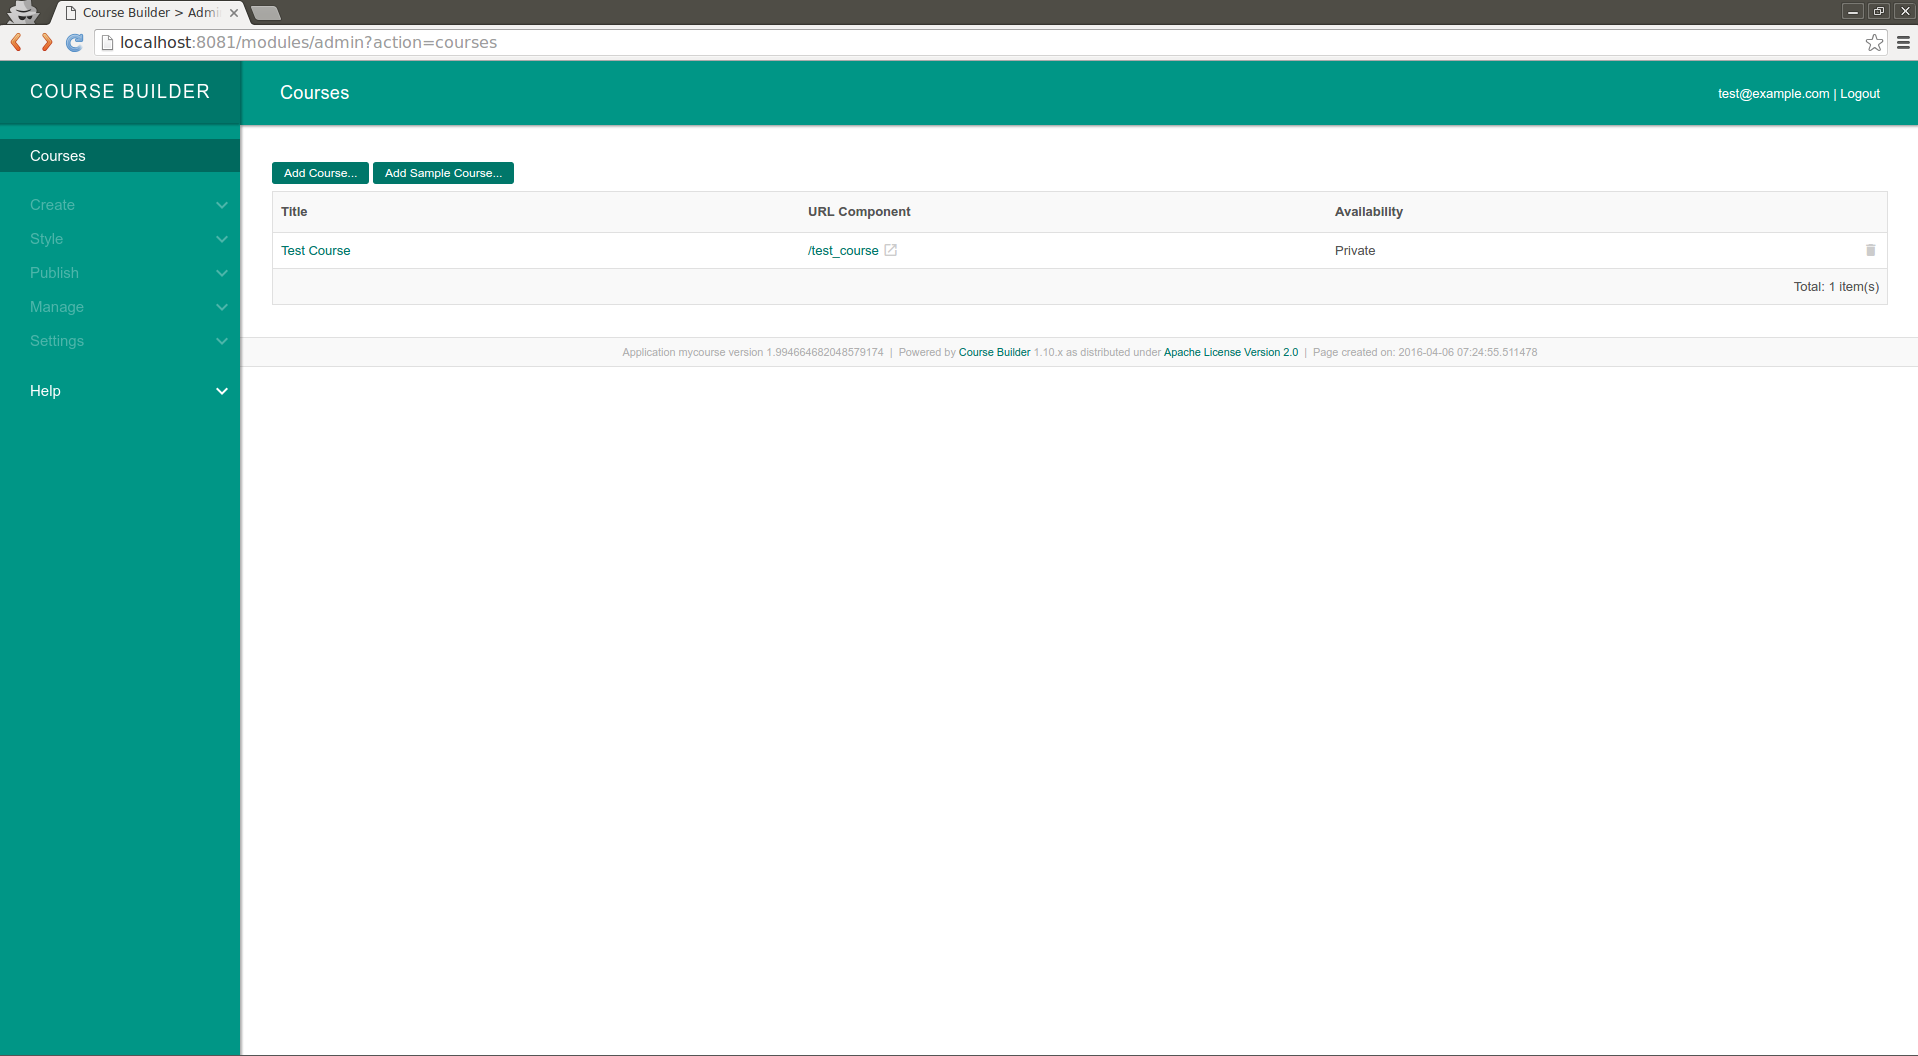
Admin home page with all the courses listed.
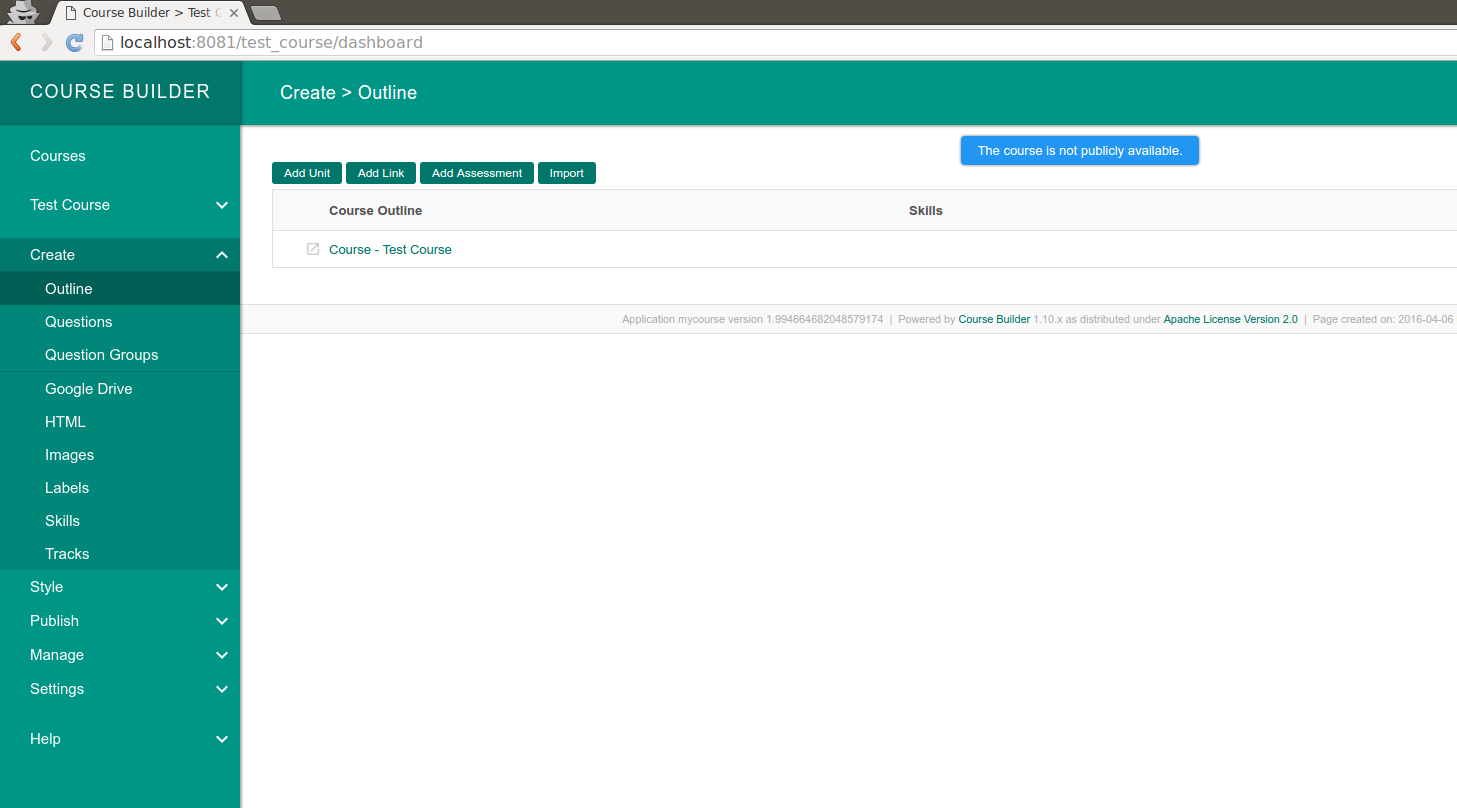
Admin - Course Outline, You can add course components here.
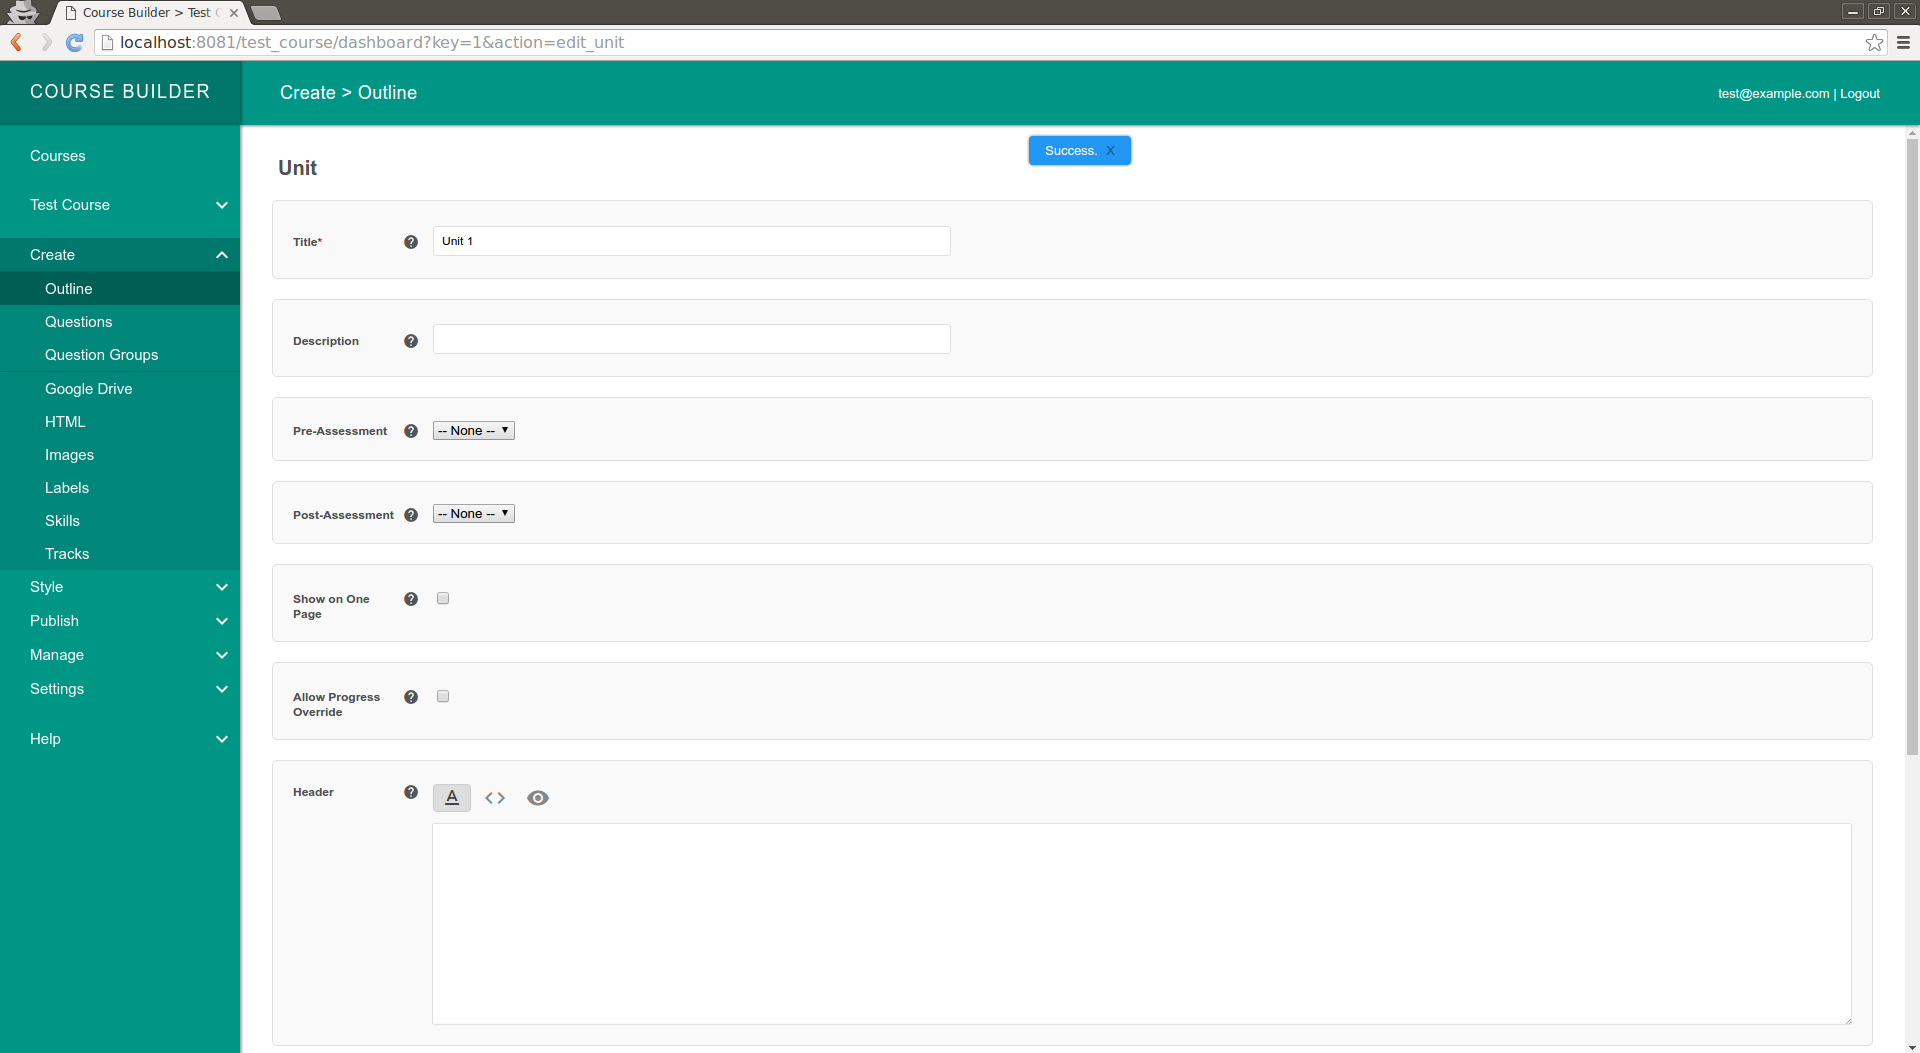
Admin: Adding an unit to the course
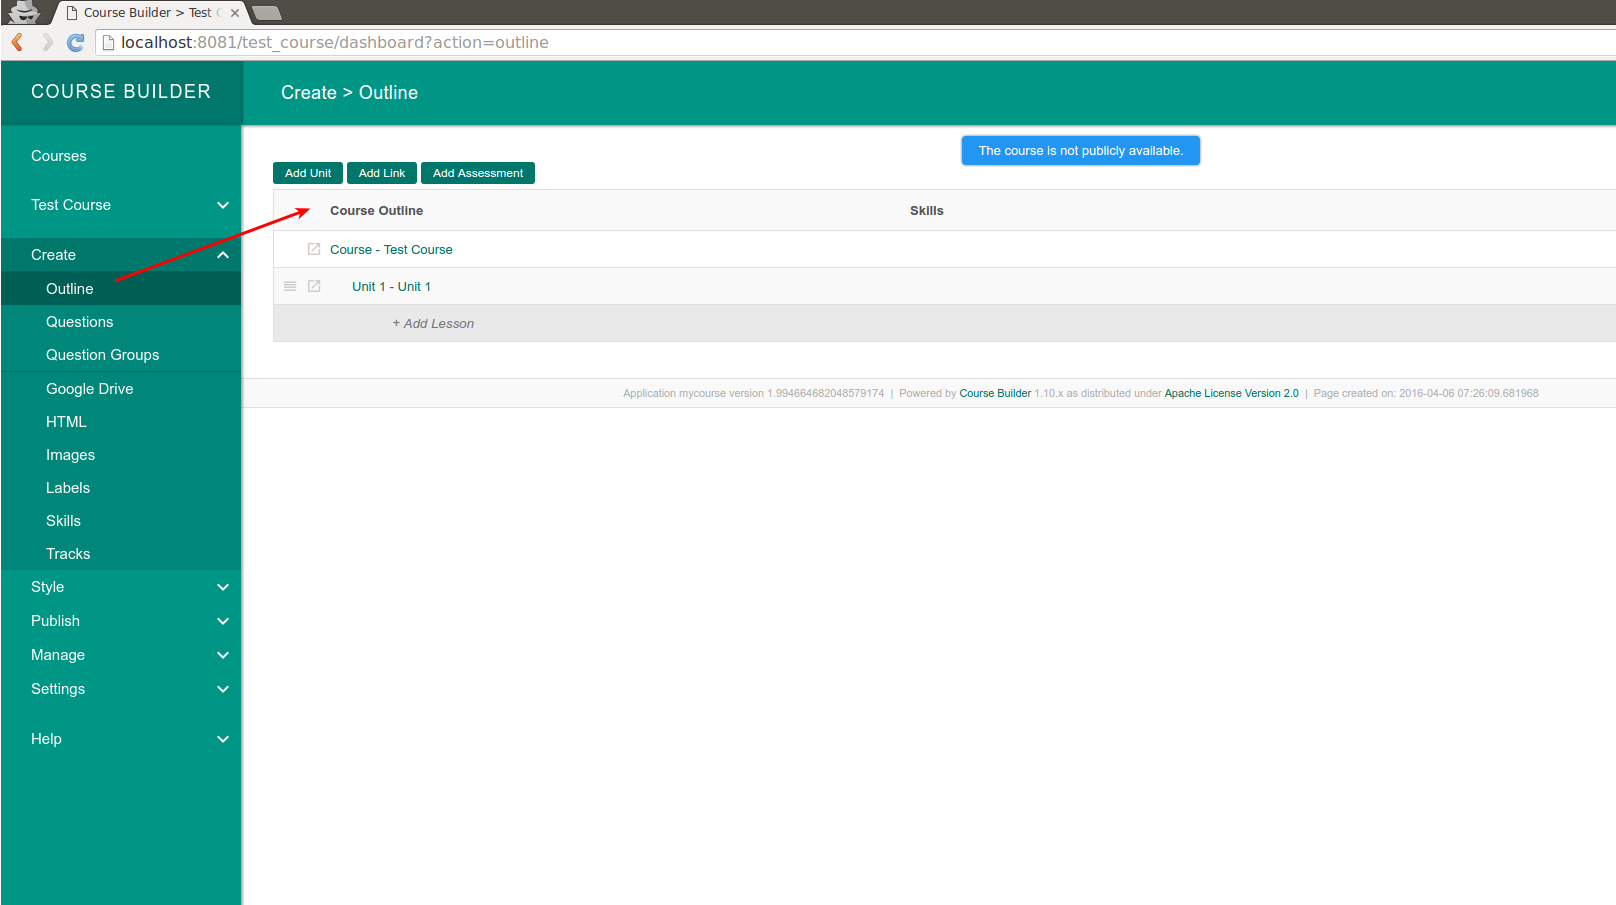
Admin course outline with Units and an option to add Lesson
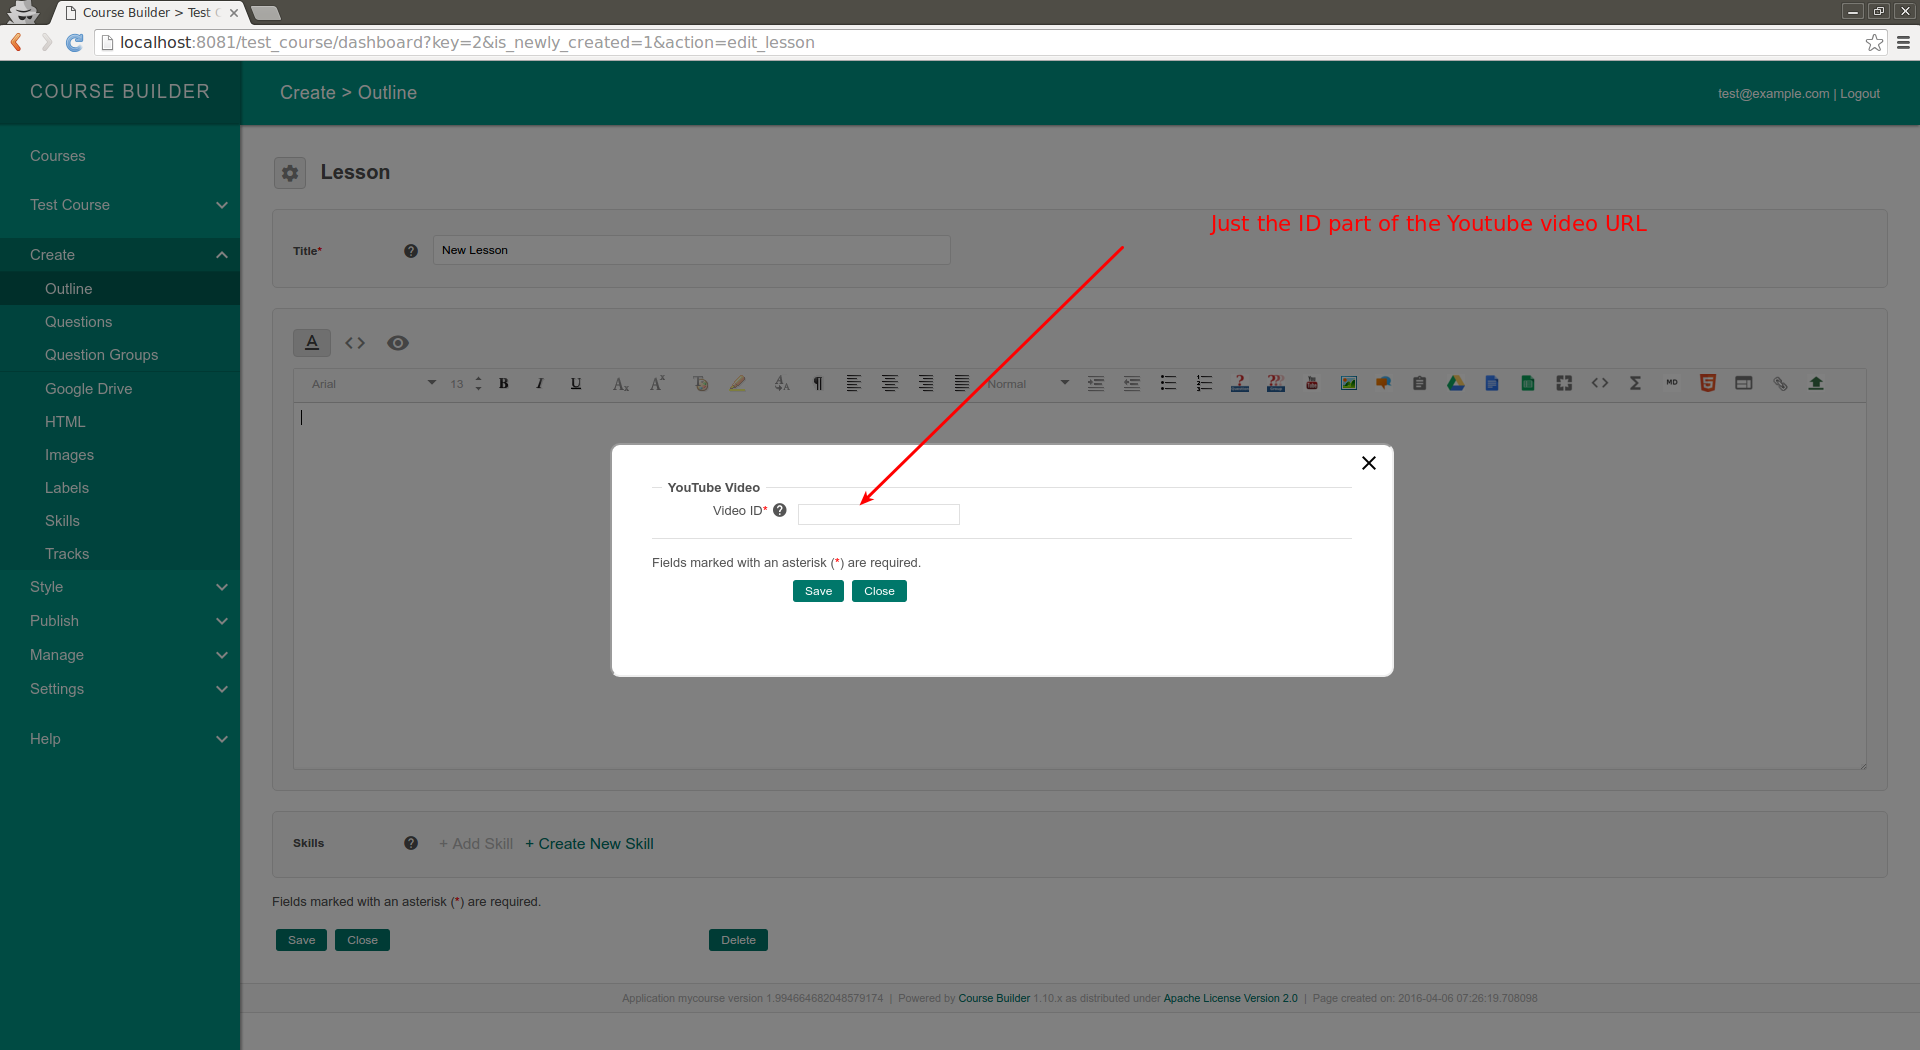
Admin: Adding video to the lesson.
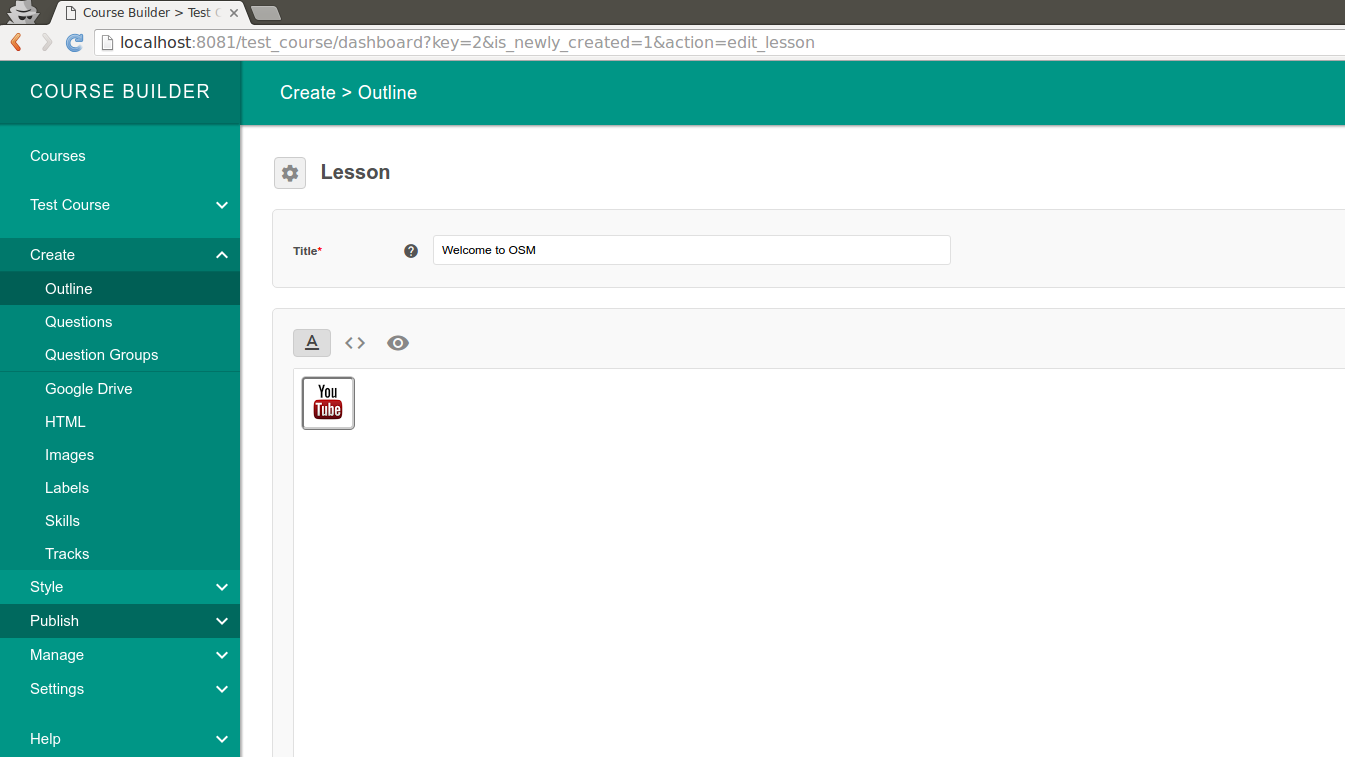
Admin : Adding a Lesson to Unit
Publish Course
Once you create the course, you need to publish it. There are multiple access levels available and as admin you are allowed to choose one of it for each course. I generally use public or registration required level of access. By making registration required you can track how many users are taking your course. You can also build a user profile in long term.
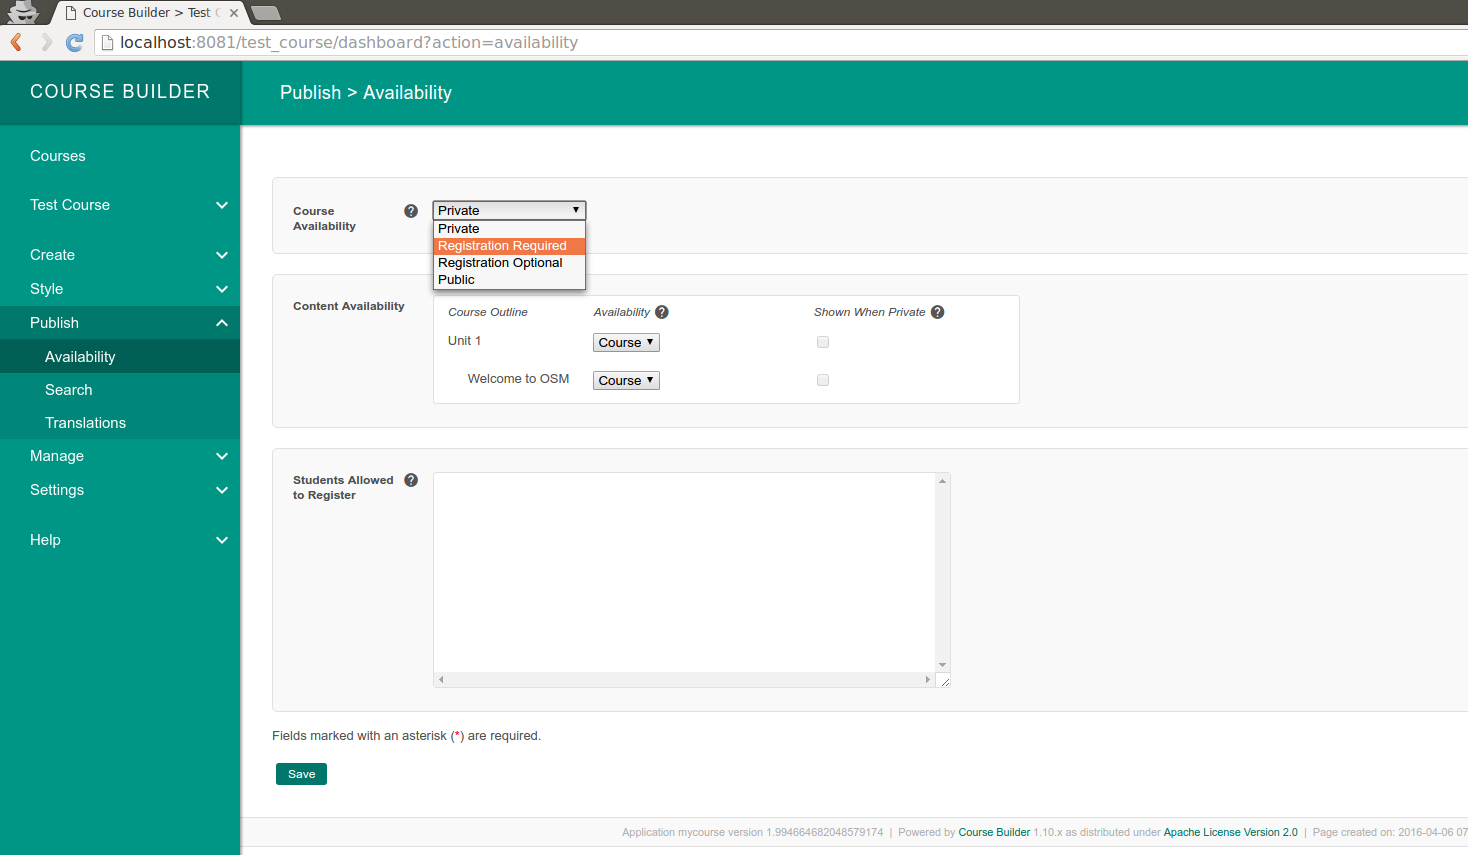
Admin: Publishing the course to public.
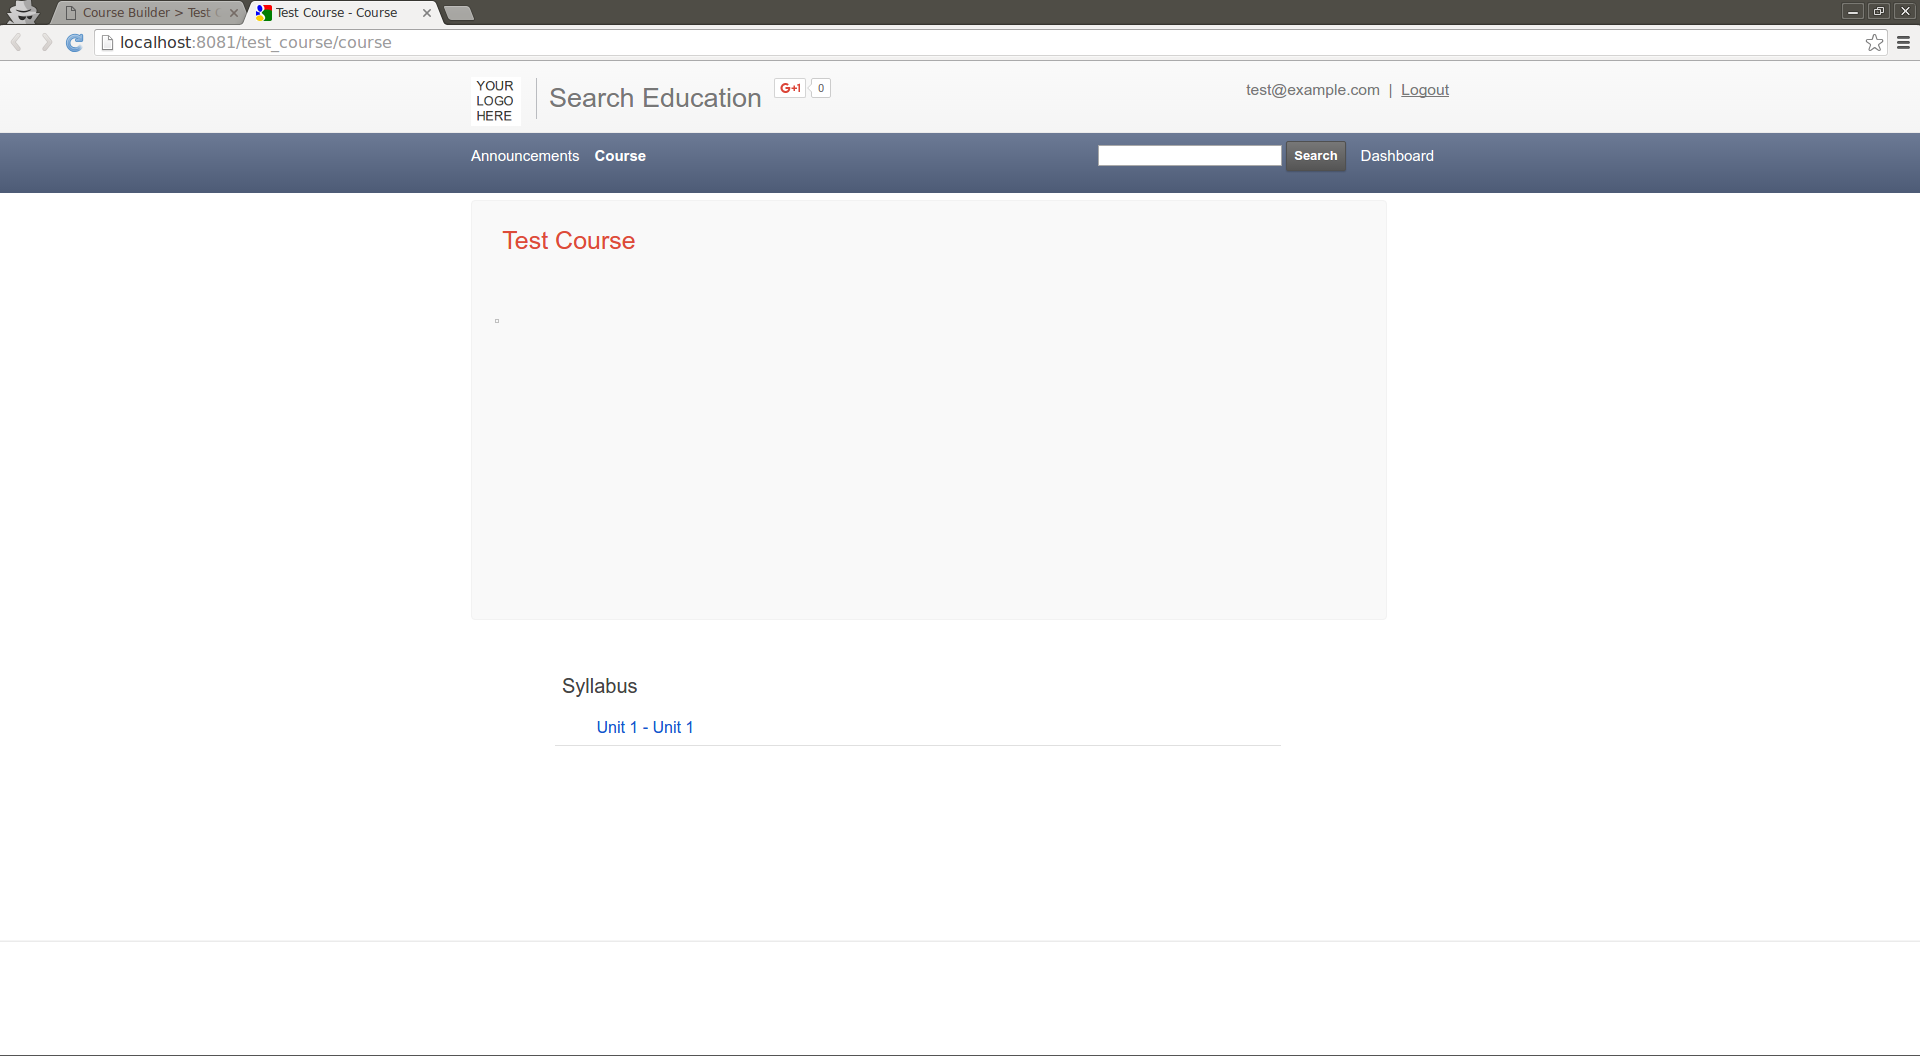
User: Course home page
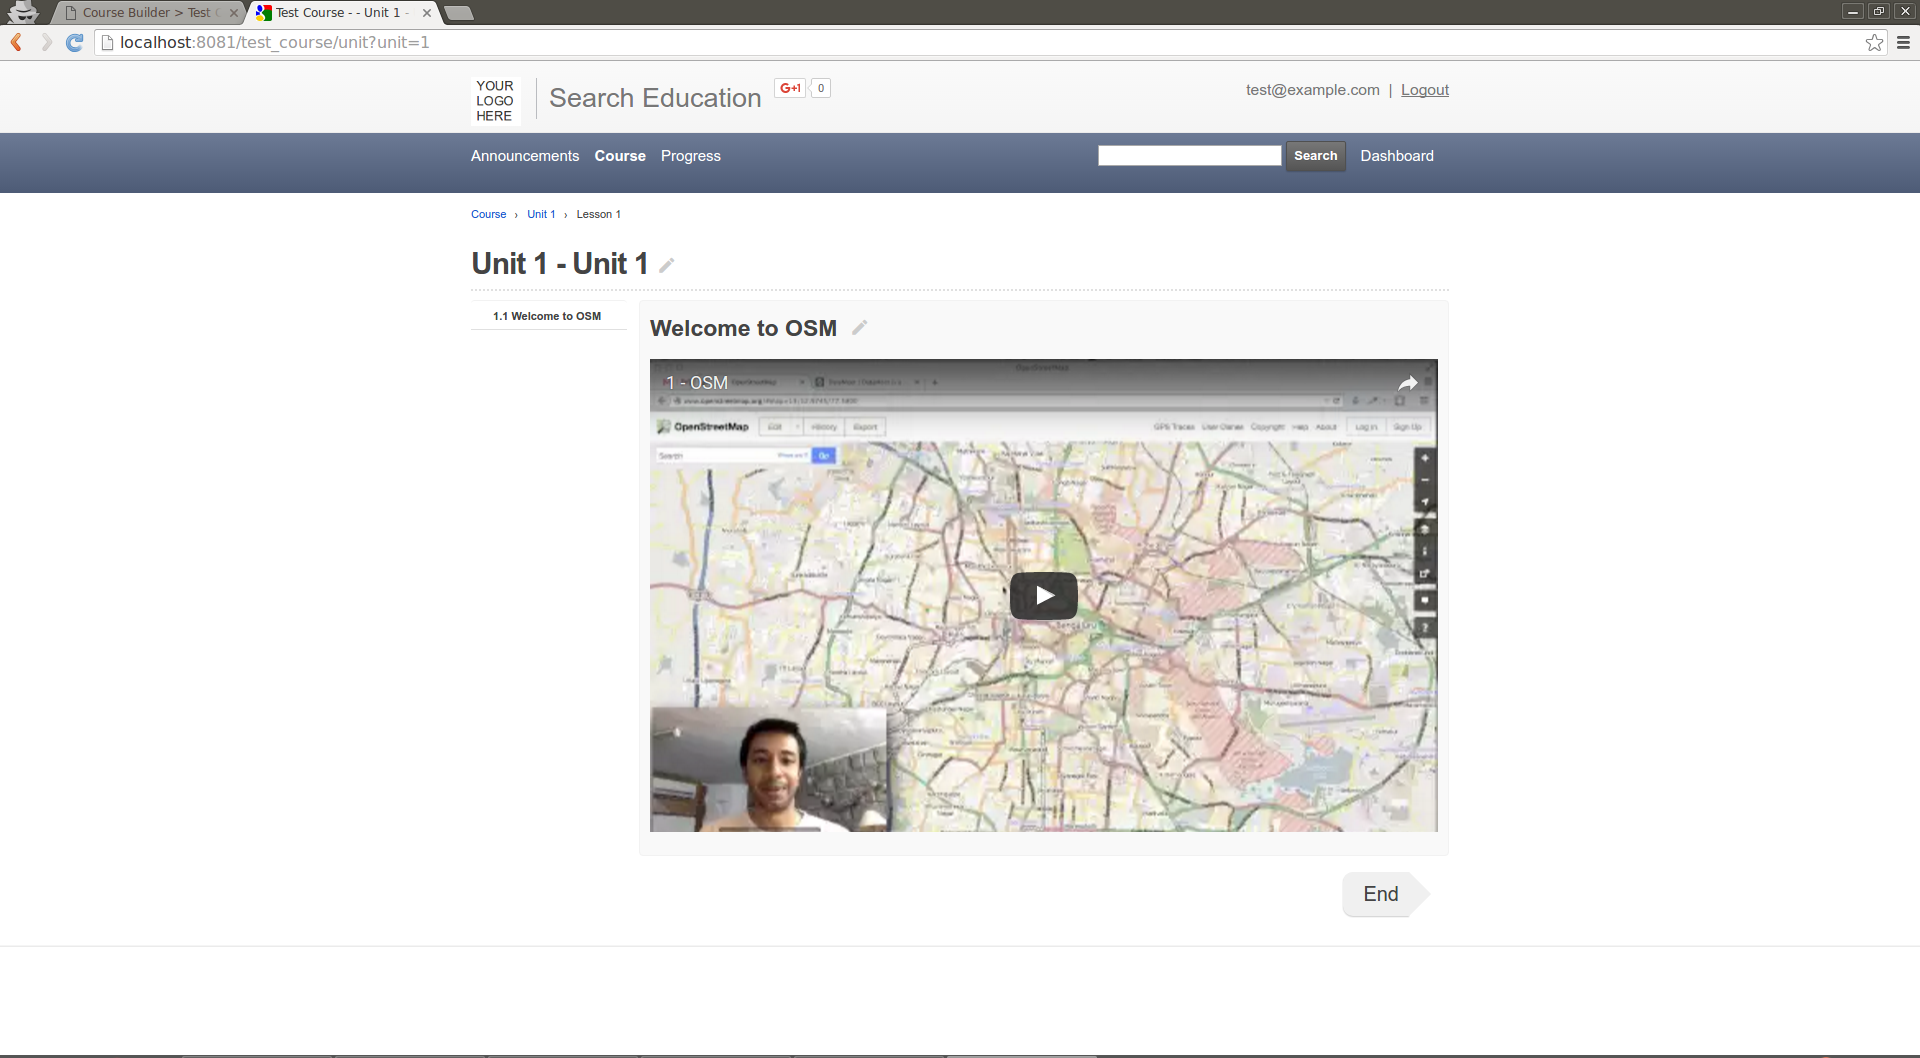
User: Course lesson page
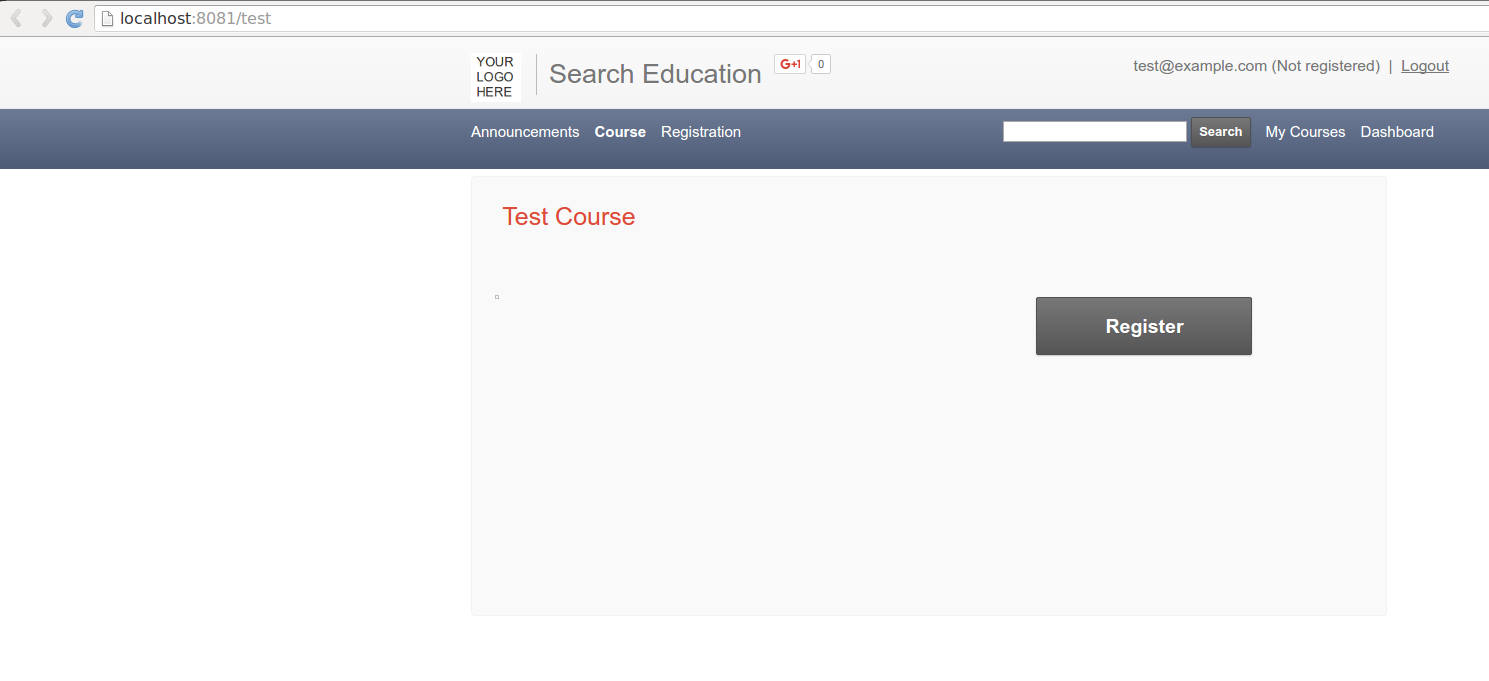
User: Course page with registration required.
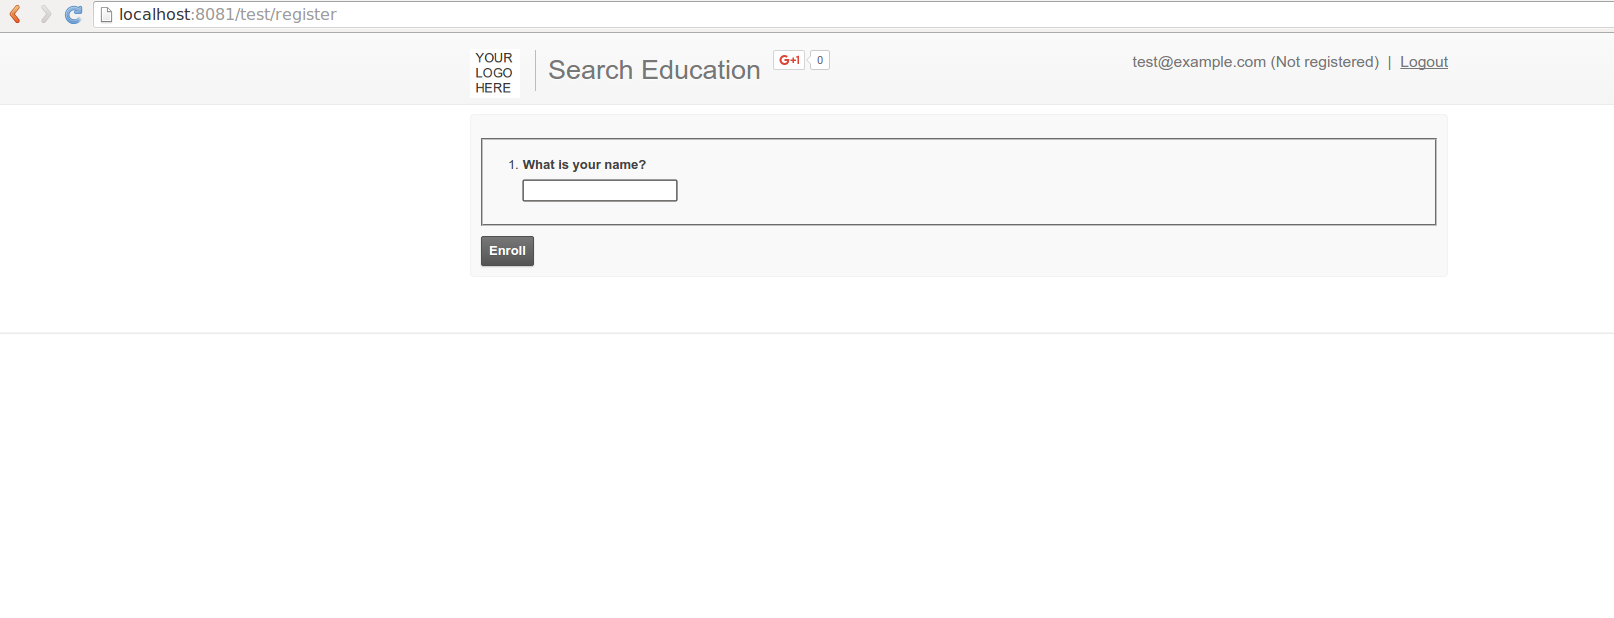
User: Course enrollment page.
There are many more course level settings available. We will explore them in the next few posts.
Site Settings
There are many site level settings available for the admin to customize the site. Once of the most important one is enabling the course explorer, so all the published courses will be available on home page.
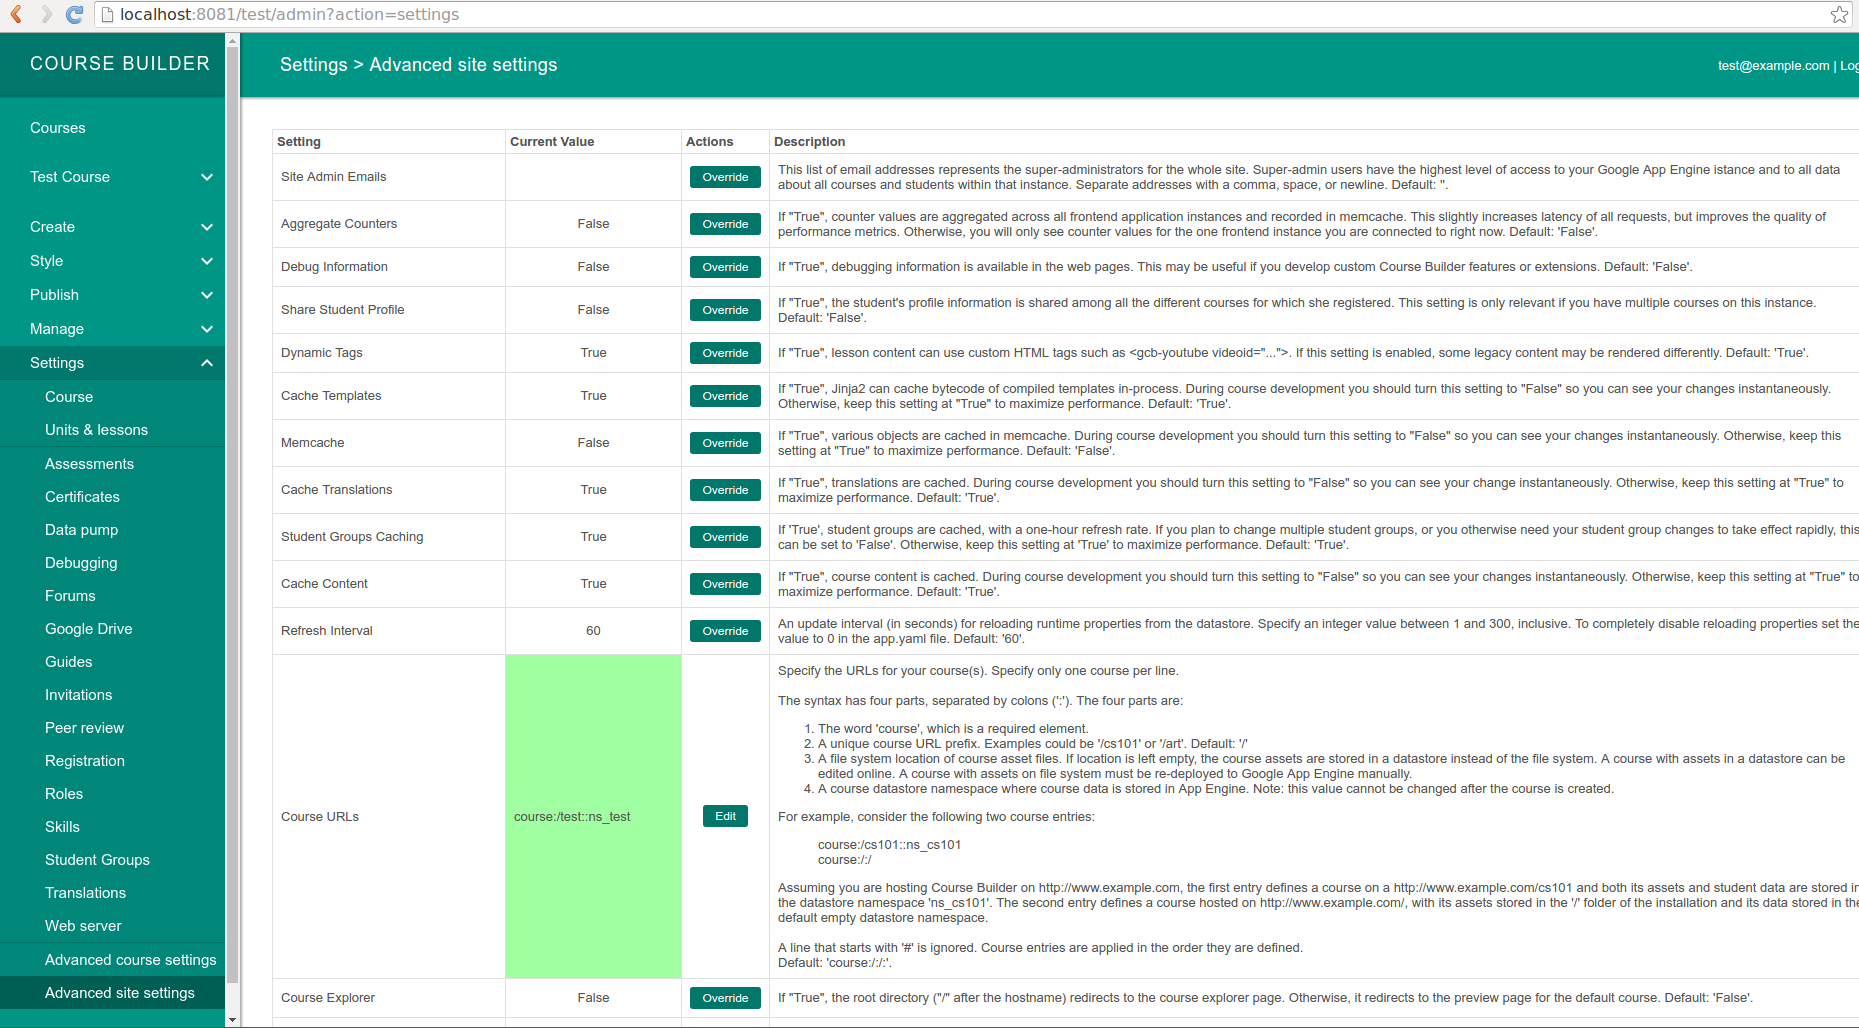
Admin: Site wide settings page
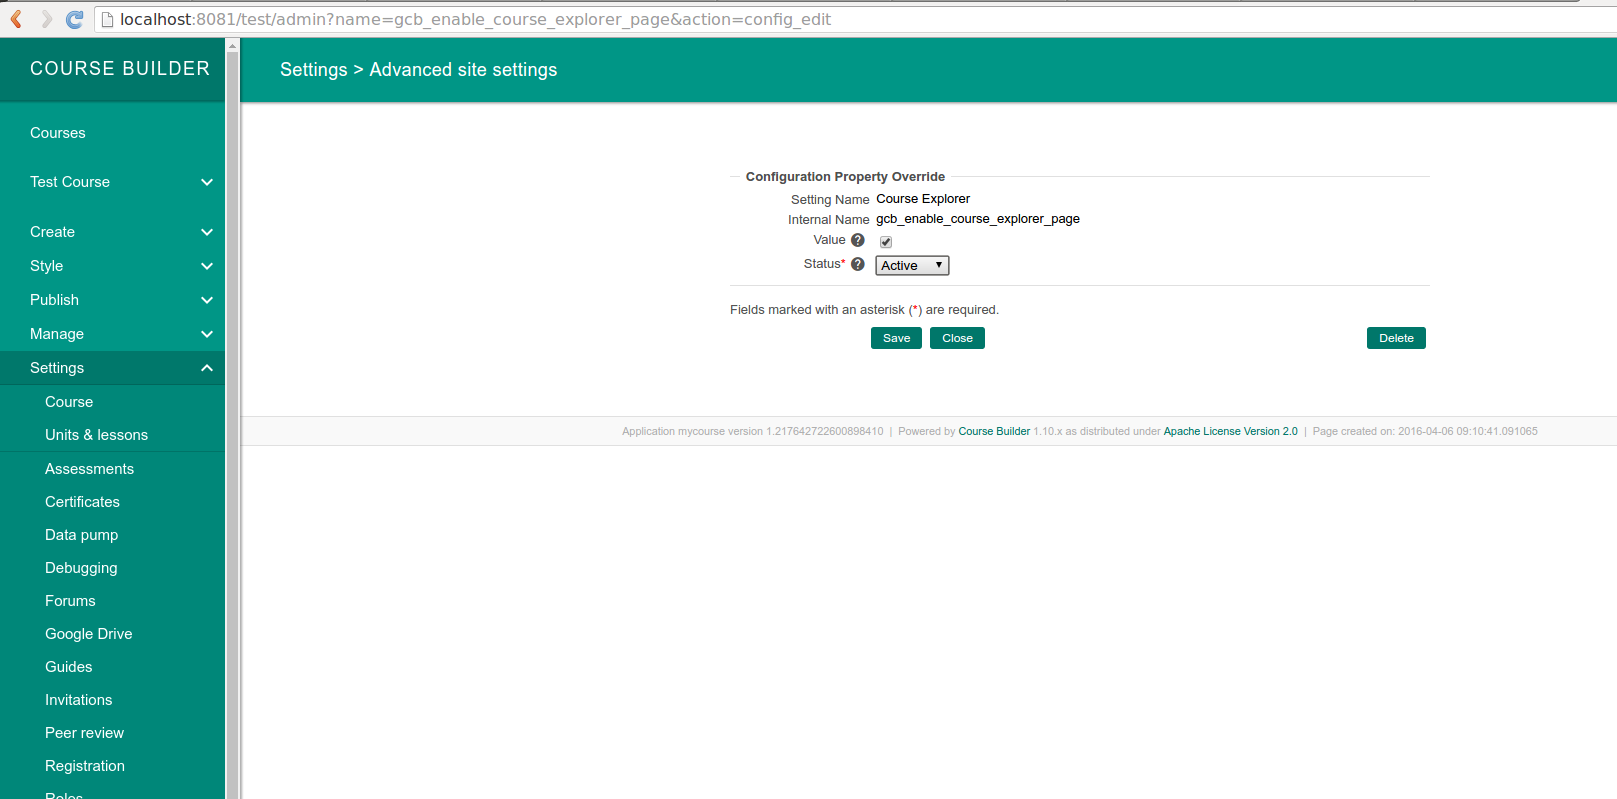
Admin: Site wide settings - enable explorer page
Explore other site settings. Enable or disable as per your requirement.
Next
I will continue course builder series. In the future posts we will learn more about customizing the look and feel of the site, How to create quizzes or tests for the course takers, How enable or disable modules and how to ad new functionality by creating a new module.