Building Baby Gym
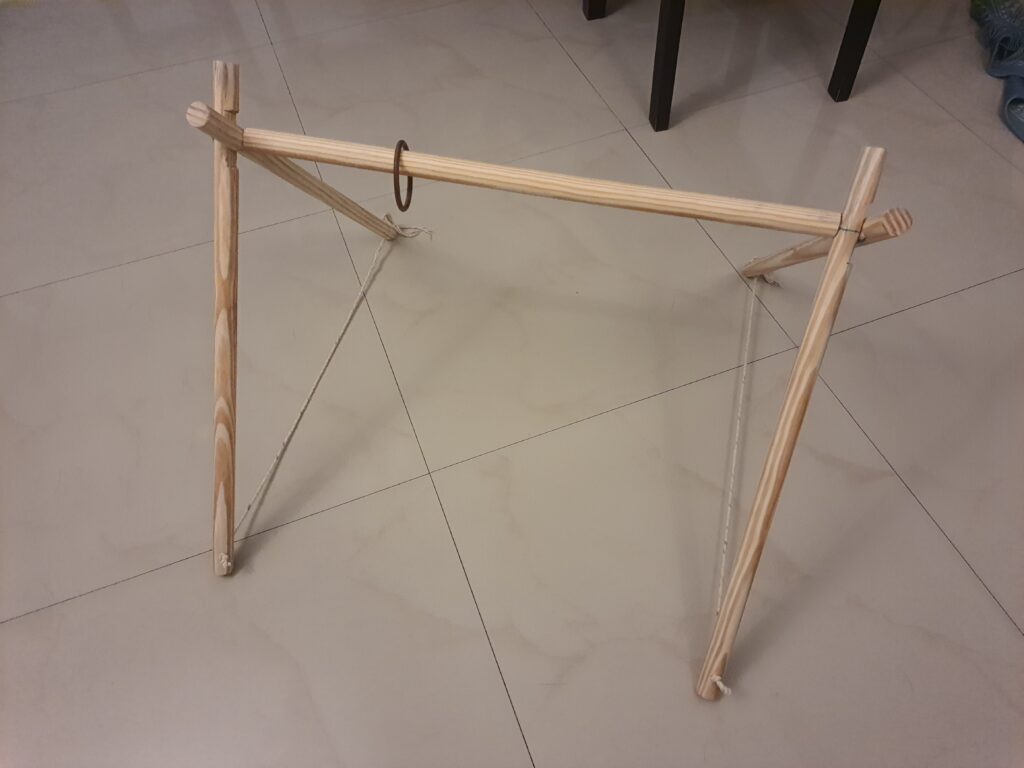
The idea was to build a baby gym, which is adjustable in height and gives us the flexibility to disassemble and carry easily. There are many products available in the market. But I wanted to build one. Hence, the build.
Idea and Materials

I looked at Pinterest for design ideas. I took some inspiration from what I saw and then designed my own.
Raw materials
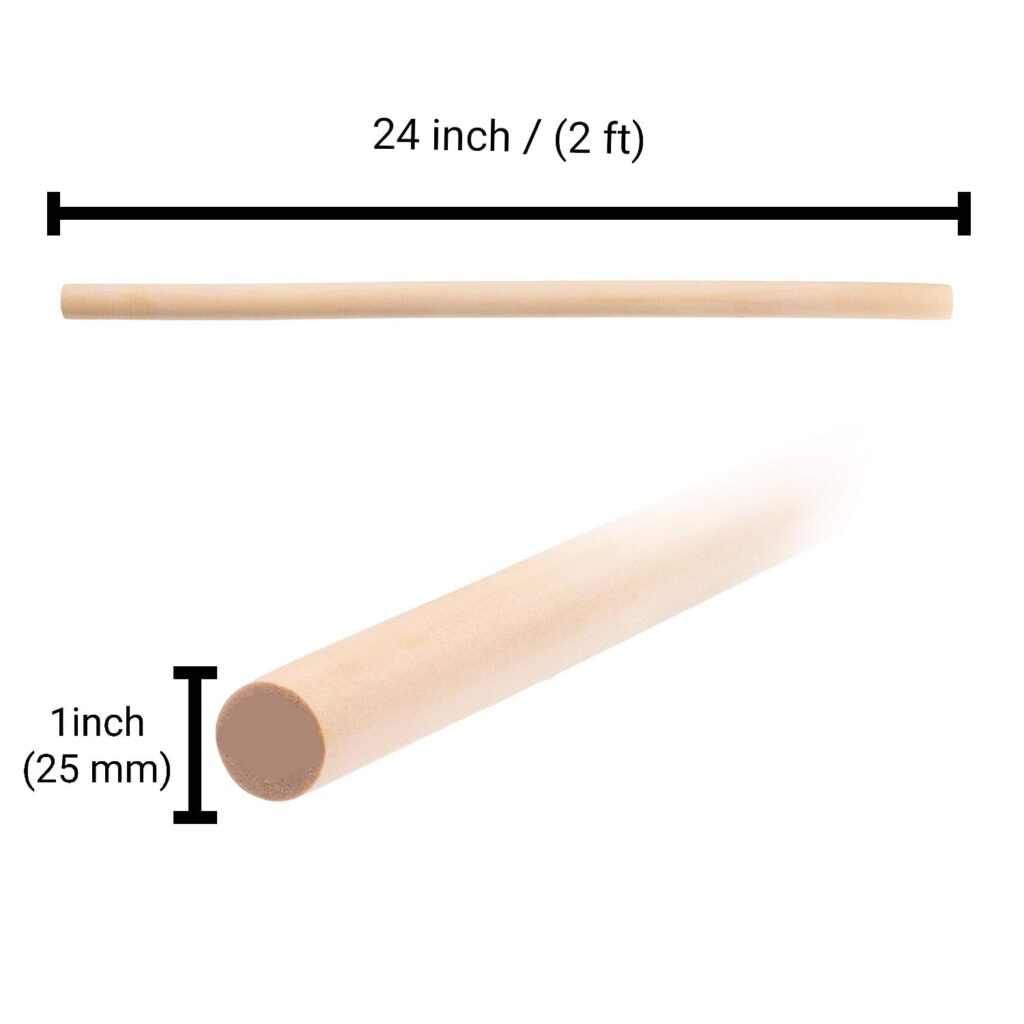
- I chose 2ft long, 2 inch diameter, wooden dowels - 5. Four for the legs and one for the beam
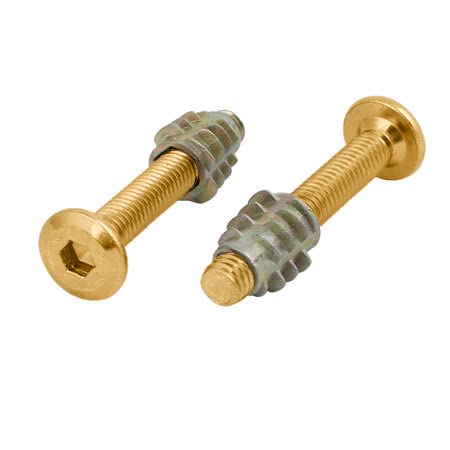
- Two M6x50 mm Allen JCB Screw with M6x13 mm Internal Thread Wood Insert D-Nut.
- Rope - I used cotton think rope, twine rope should also work
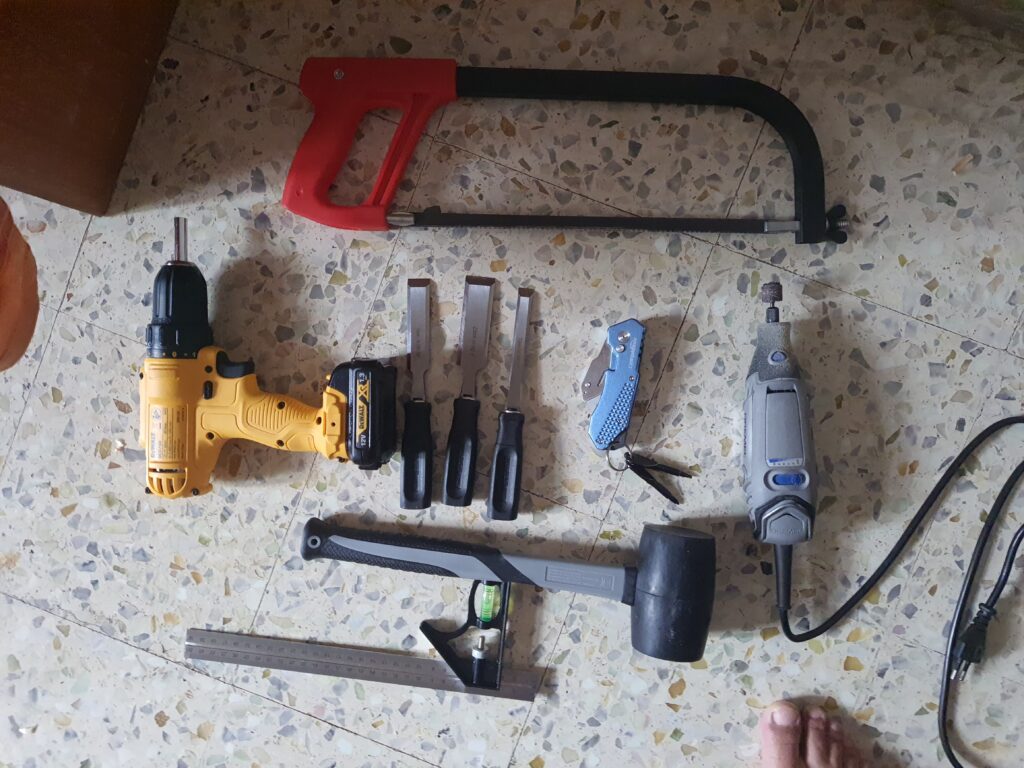
Tools
I had everything at home except for chisels. I always wanted them, and this was a good reason.
Legs
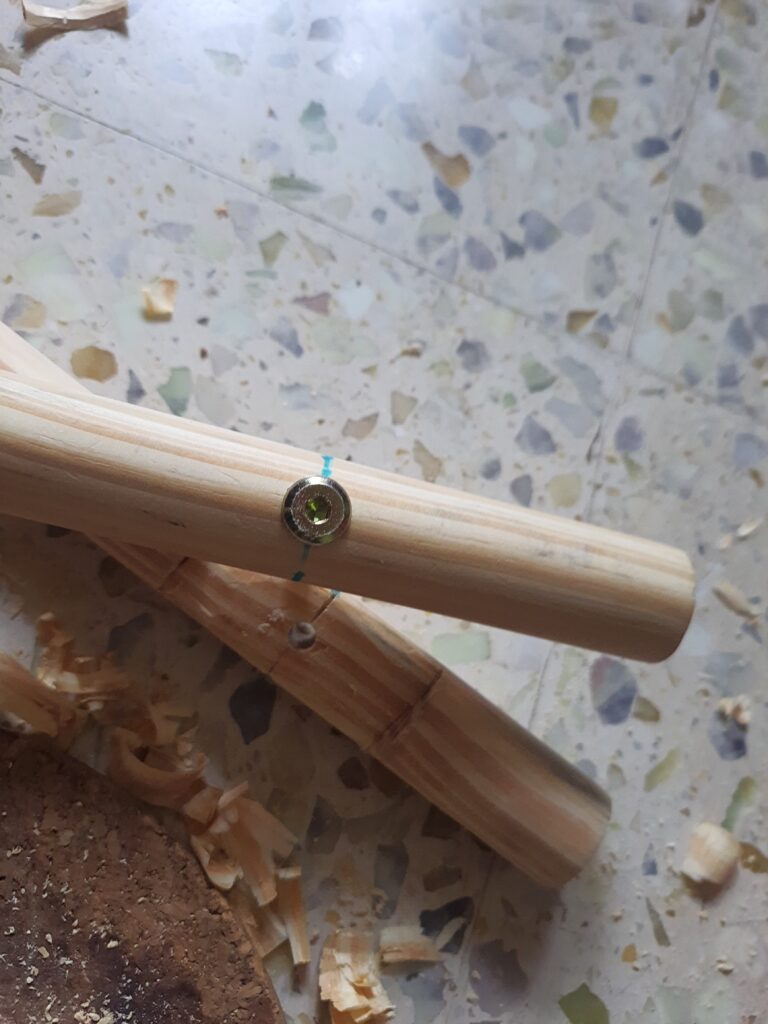
The gym will have four legs—two on each side with a hinge-like joint that brings them together with the beam. This joint is screwed together using M6x50mm Allen bolt. This joint also helps in adjusting the height of the gym beam.
There is a rope that goes between the legs on the same side. This stops it from expanding and, thereby, stops the collapse of the gym.
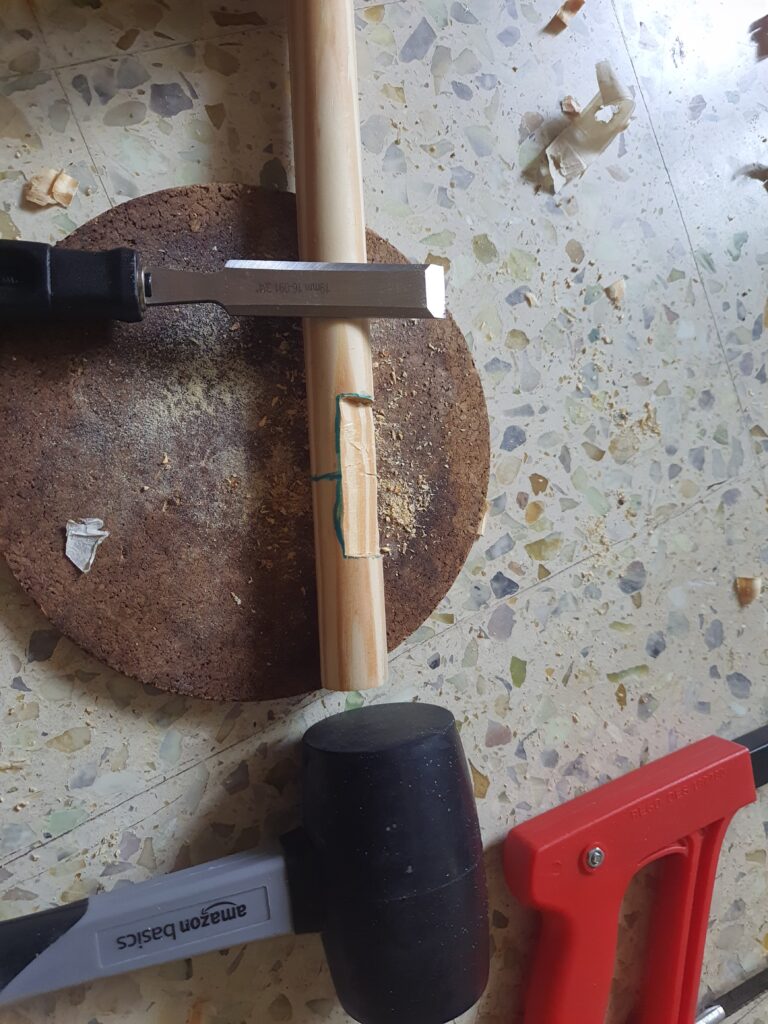
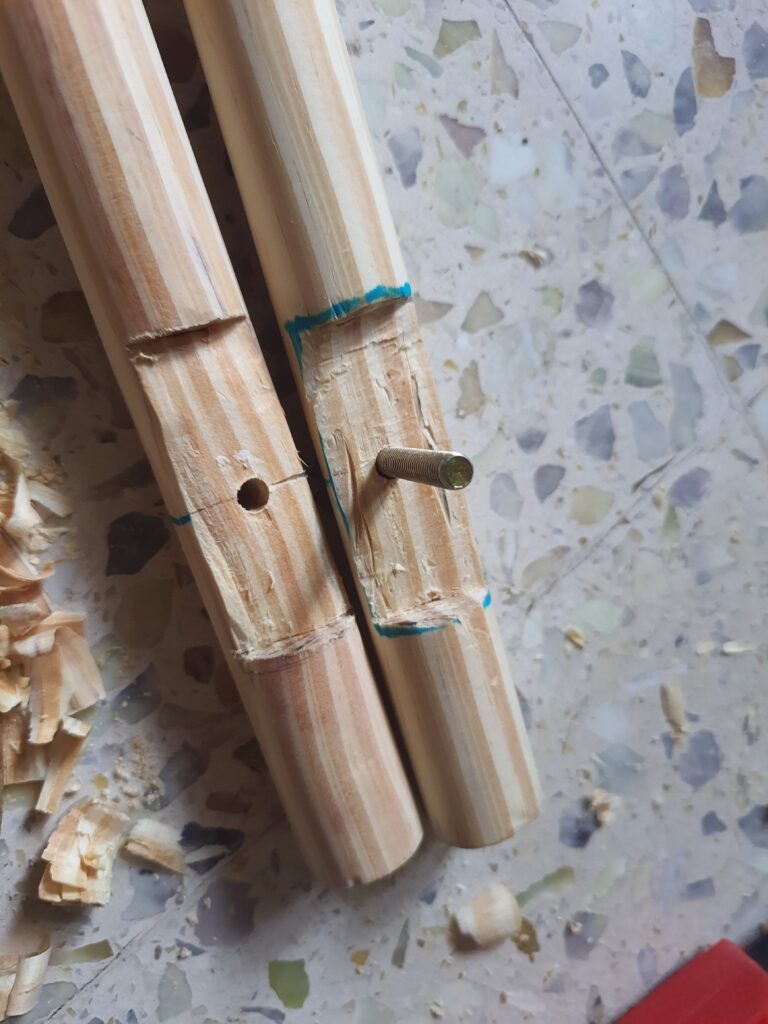
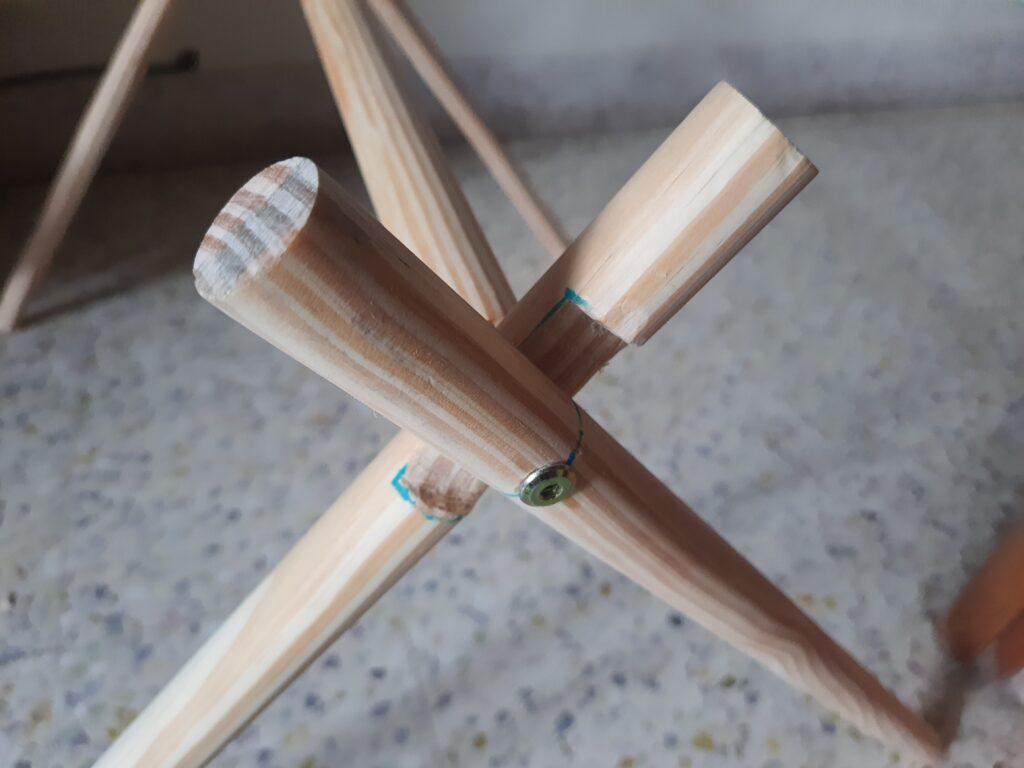
I created a grove on the legs, 2 inches from the top, a groove length of about 4 inches, and a depth of about 5 to 10mm. This gives a flat surface for the legs to come together and reduces the overall thickness of each side of the leg to less than 40 mm. Then, I added a hole a little broader than the M6 bolt. At the center, so can then be screwed to the beam. Initially, I tried to cut it using a Dremel. But it was difficult for me to control. Finally, I used a small chisel and rubber mallet. It turned out to be a good decision.
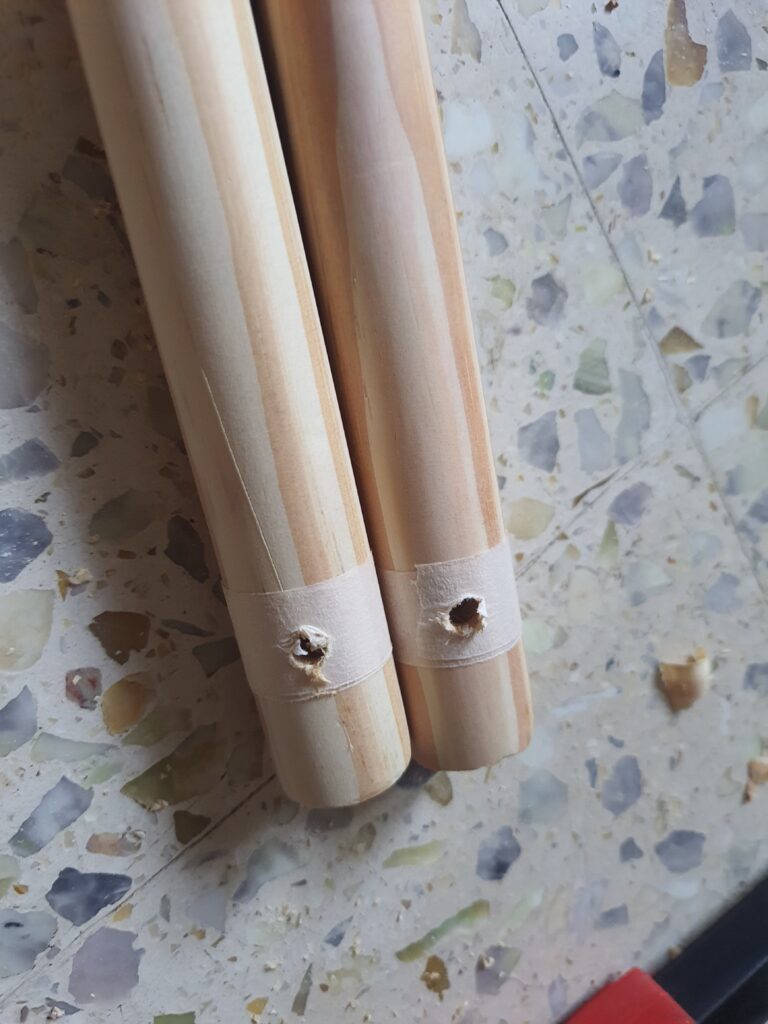
At the bottom of the legs, 2 inches from the bottom, I drilled M6-sized holes perpendicular to the joint holes at the top. This is used for running a rope to control the height and give stability and strength to the structure.
Central beam
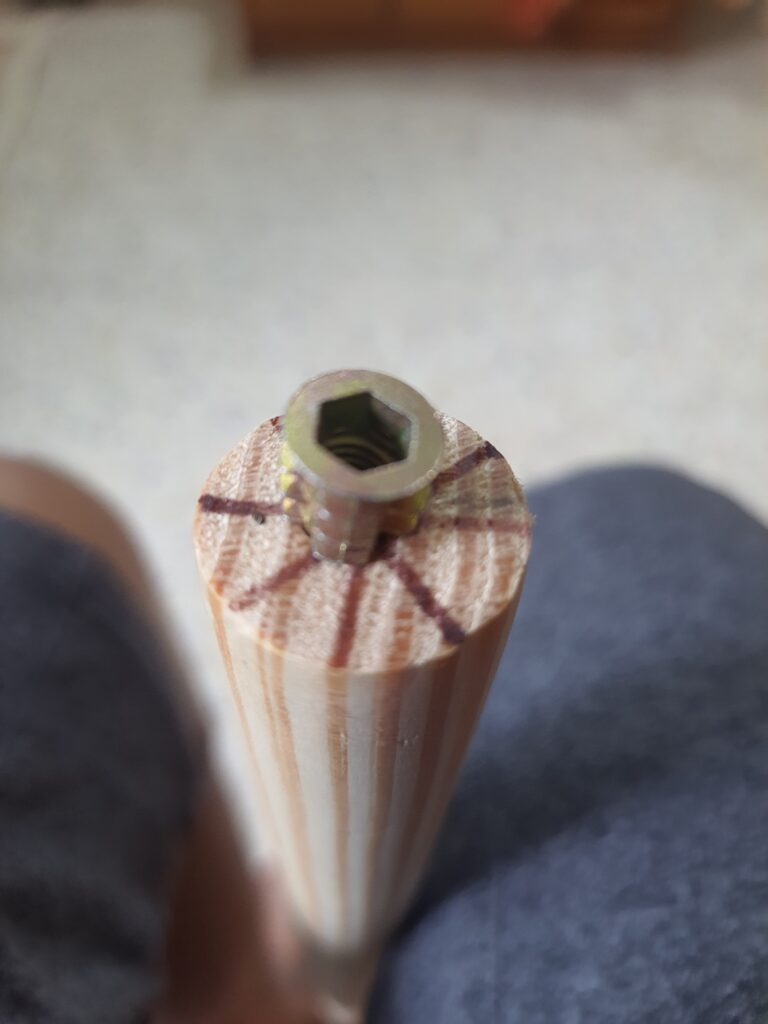
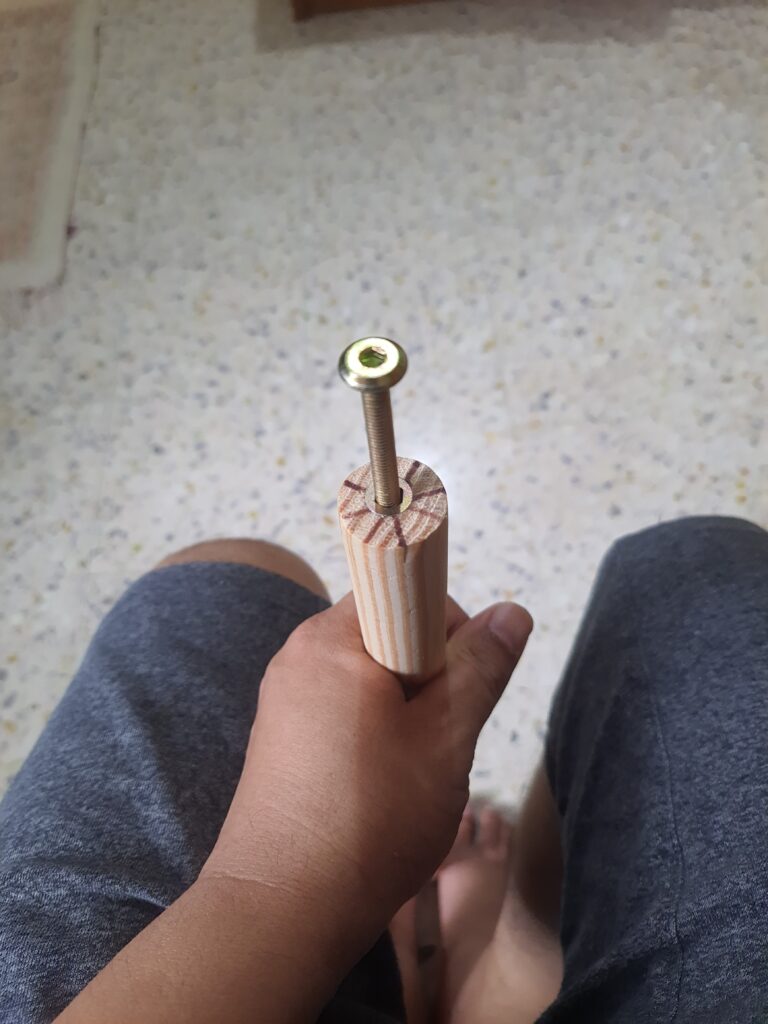
The central beam will have two bolt nut inserts so the legs can be bolted to them quickly. I use two M6x50 mm Allen JCB Screw with M6x13 mm Internal Thread Wood Insert D-Nut. Since the thickness of the wood is 25 mm, I needed a bolt that is longer than 50mm with two legs coming together at the joint. However, I planned to carve out at least 5 mm from each leg to make the total thickness around 40mm. That way, at least 10 mm can be screwed into the nut. So, a 13 mm nut works. I like the internal thread wood insert nut; it works well in this case and gives a professional finish.
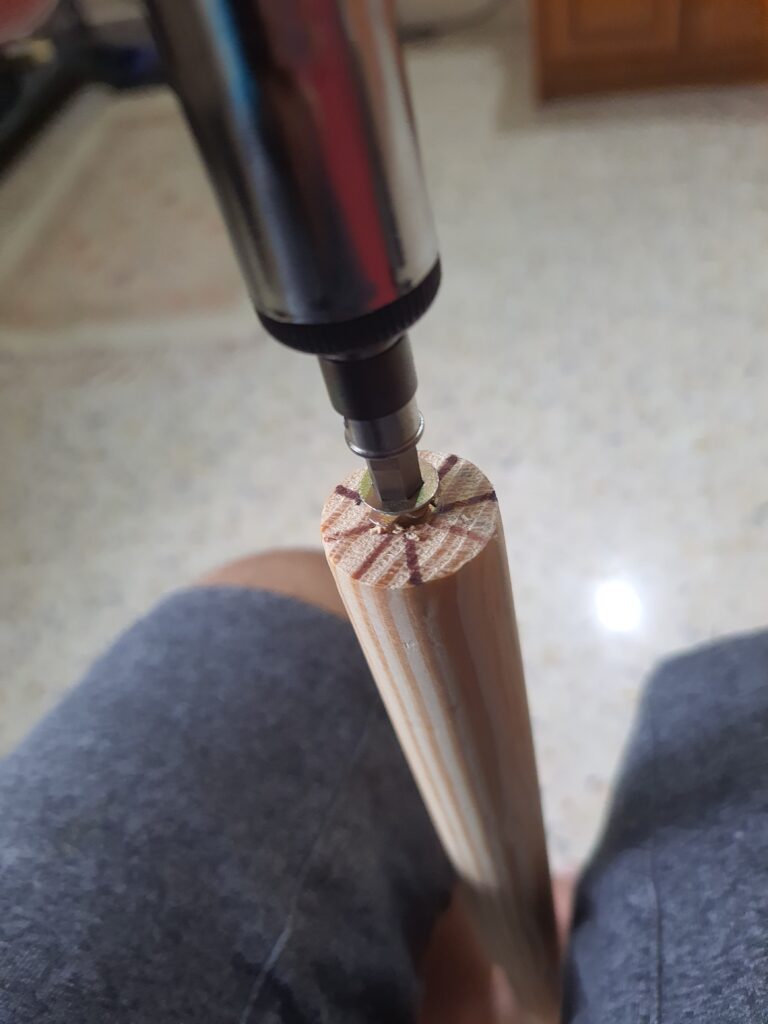
So drill a hole of at least 15 mm in length with a tiny diameter bit first. Then, drill again (expand the whole) with an m6-size drill bit. Then, use the hex driver to drive to insert the D-Nut. Then, try the bolt to see if it's working well.
Once you do this on both sides, Our central beam is ready.

Assembly
Assembly is straightforward. Add the legs together and run the M6 bolt through them to the beam. Tighten it using a screwdriver (hex bit). Adjust the height. Measure the distance between the legs on the same side, cut a rope that is bigger than that, and run it between the holes at the bottom. Secure it using a knot.
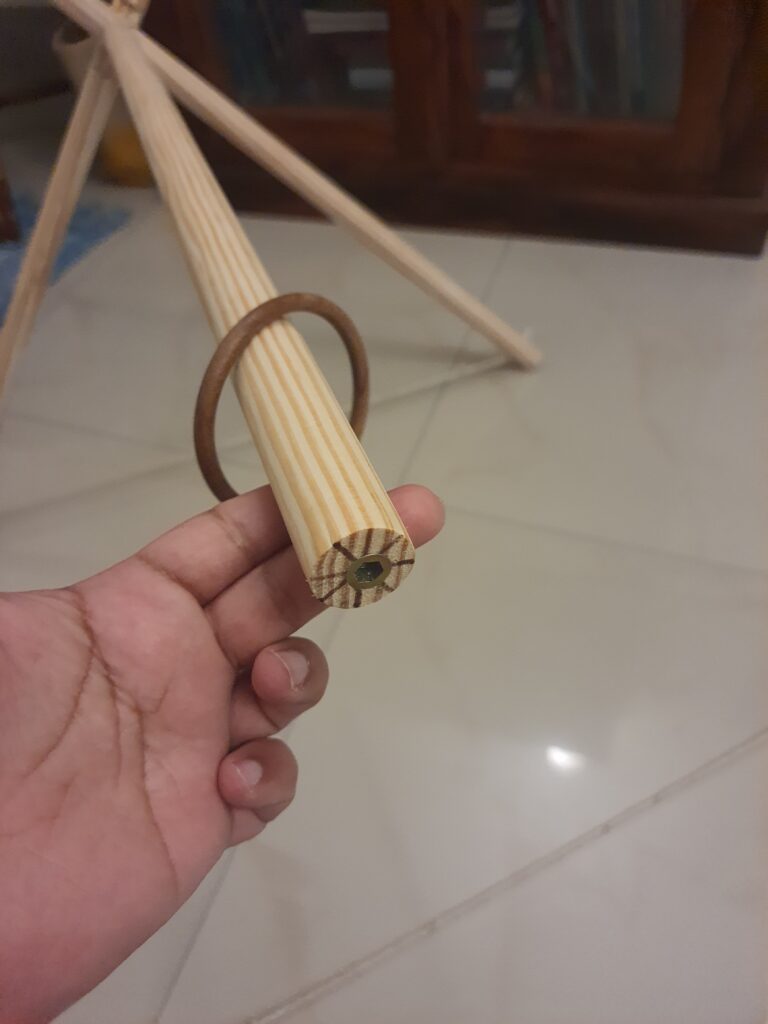
You can add the charms to the central beam using wooden rings (or wooden bangles). Adding and removing them is easy; you only need a hex driver.

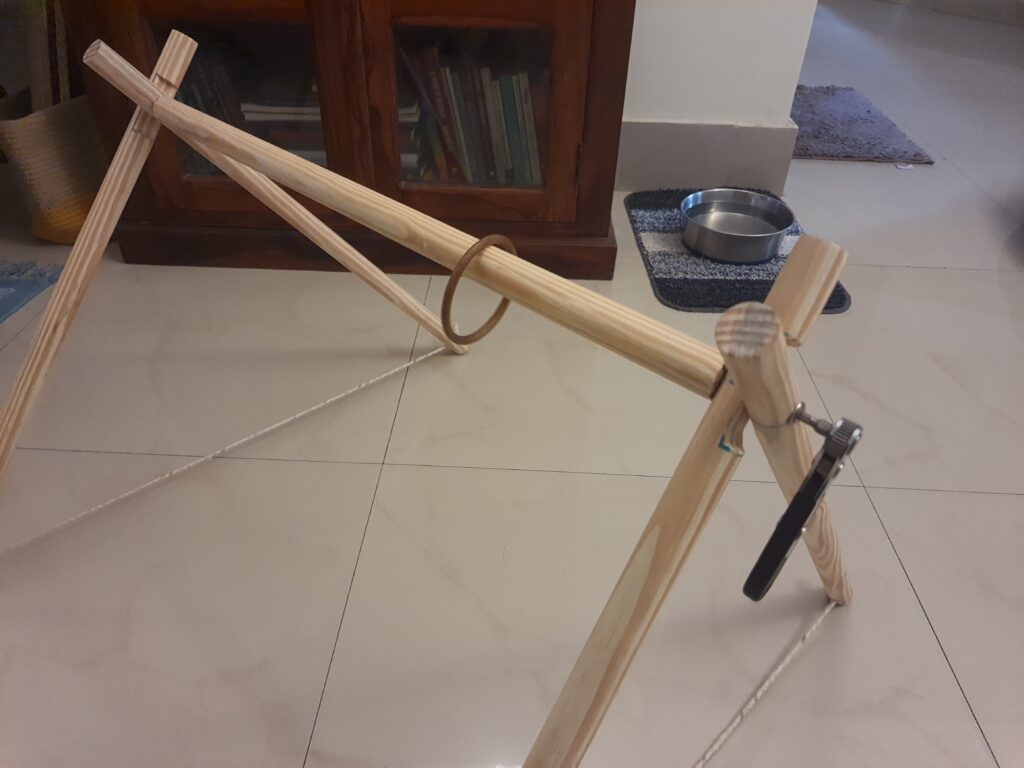
Overall, I am thrilled with how it turned out. It's very flexible regarding height adjustability, usable, and travel-friendly.


1 Response
[…] parents for us. I didn't do much work other than attending a couple of meetings. I took some time to build a baby gym for Uma. The build itself took a couple of hours. It would have been much easier and faster if I […]